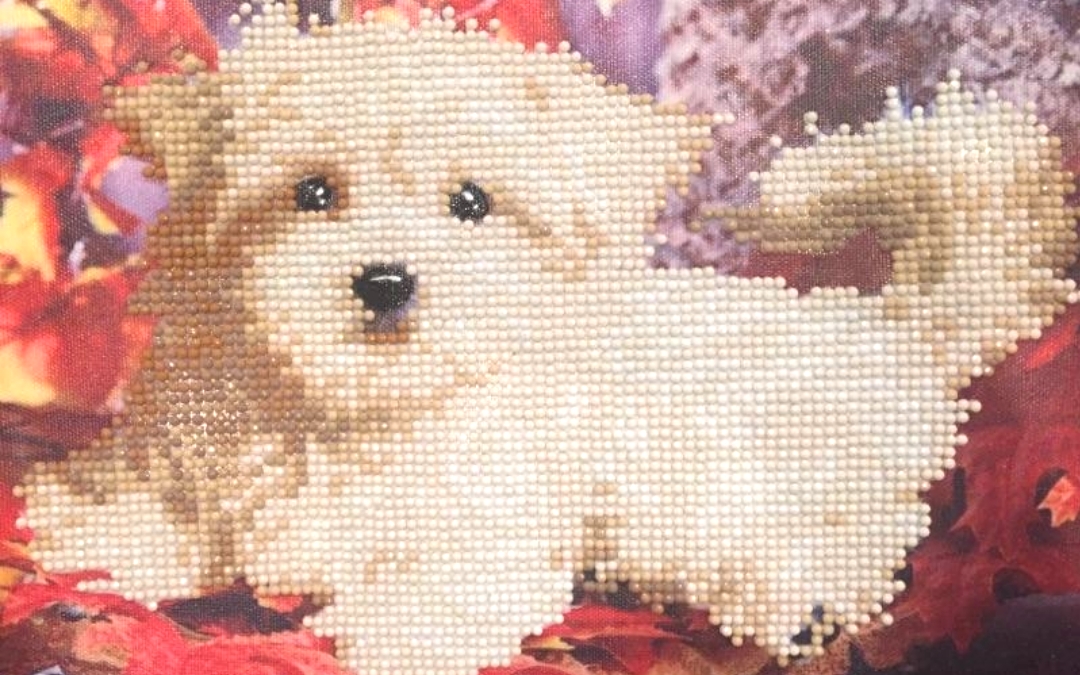
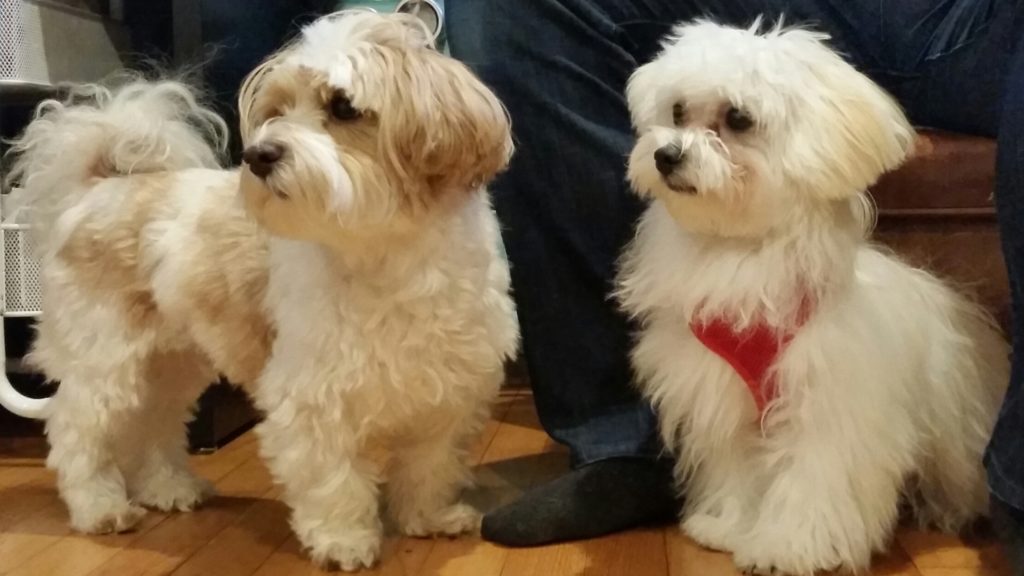
I finished my first diamond painting from NewFrog.com, and it was LOVED by my brother and sister-in-law! The image was of a cute little cream colored pup (here is the LINK to this puppy kit), and the minute I saw it I knew I wanted to create this for them because it looked so much like their Havapoo (combination Havanese and Poodle), Cookie.
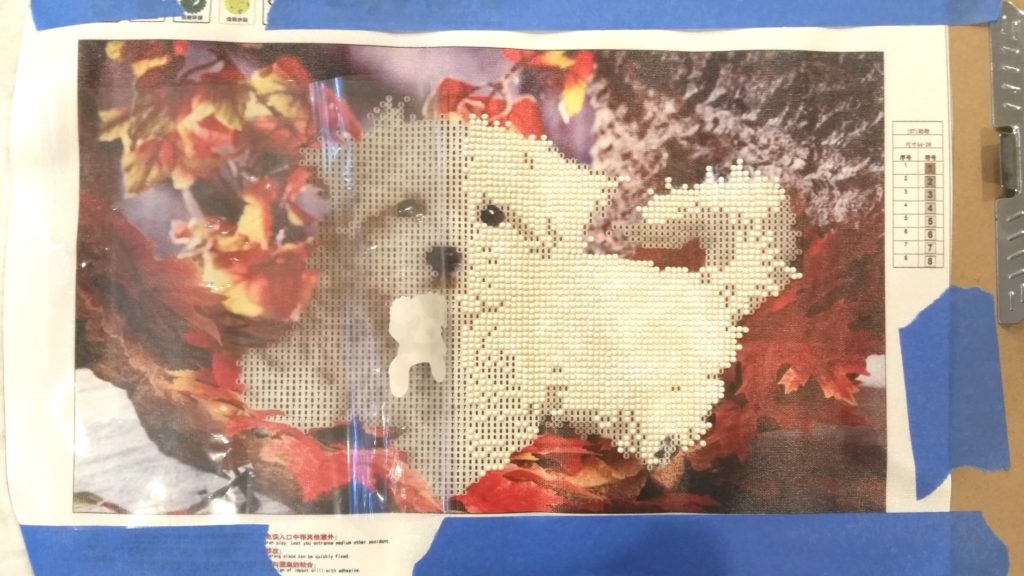
This is all brand new to me so I thought I’d share some tips and tricks that made this totally enjoyable and pretty fast (I did the whole picture in 1 evening). First, I used blue painters tape to affix it to a portable wooden easel that I had from my drawing class days. Securing it this way, kept it stable while also allowing me to carry it to different spots around the house easily. Second, I used more painters tape to keep each package of drills (that’s what the little “diamond” pieces are called) closed after opening them. Some folks complain that these little plastic baggies are very fragile and can tear making a mess of drills, but I found these from NewFrog fairly strong (some folks transfer them to mini ziplock bags to avoid the possibility of drill spills). I also labeled each using a Sharpie marker on the blue tape to make each baggie easy to distinguish from the next.
As I also had 2 other diamond painting kits, I used the 2 additional green trays to lay out up to three colors of drills at the same time. Because the color variations on this picture were pretty well segmented to just a few colors in each area, this made working on each area before moving onto the next area easy. Following a tip I learned from Shirley (YT: shirlscraftyworld), I also put a little sticker on top of the release paper so I could tell the front and back of the release paper and keep my canvas free from lint or debris. Lastly, I found that having a little piece of a Swiffer duster sheet or an anti-static bag (used to prep surfaces for heat embossing), was helpful for avoiding drill-to-tray cling.
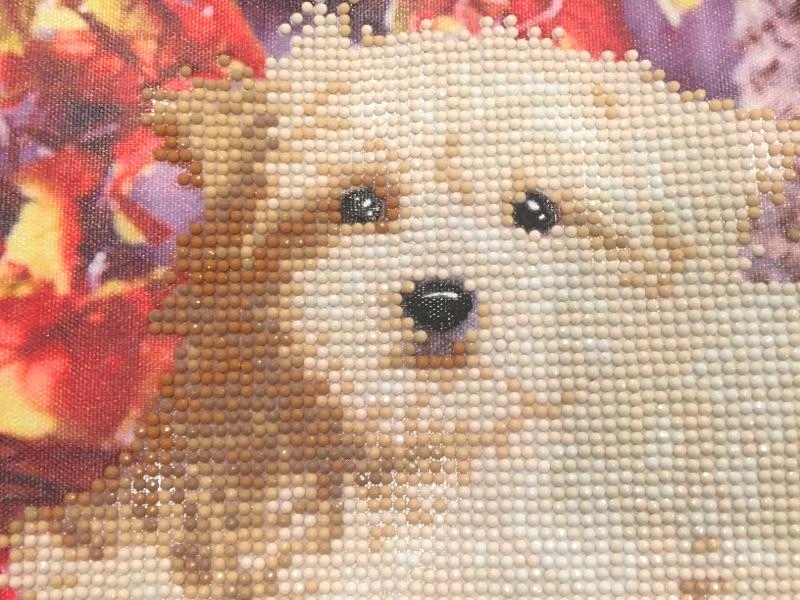
BTW, because this diamond painting was not an image that was designed to be entirely covered with drills, I found that the flat eyes and nose did not stand up to the drill-covered puppy. To remedy this, I added black glazing with a Sakura Black Glaze Pen and highlights with a Uniball Signo White Gel Pen, and it came out much better. Anyway, I hope you found these diamond painting tips helpful. I had so much fun with this, I can’t wait to start my next one!
Disclosure: Many of the supplies I’ve used for today’s project are linked. Some may be affiliate links, which means if you make a purchase I receive a small commission at no extra cost to you. I truly appreciate your support toward the costs of running this blog!
This diamond painting is being entered into the following challenges:
Simon Says Stamp Wednesday Anything Goes Challenge
Word Art Wednesday Anything Goes Challenge
Just Keep on Creating Anything Goes Challenge
Through the Craft Room Door Anything Goes Challenge
Crafts Galore Encore Anything Goes Challenge
Catch the Bug Anything Goes Challenge
Crafter’s Castle Anything Goes with Optaional The Holidays Challenge



























Great job on your first diamond painting! Thank you so much for entering our ATG challenge at Through The Craft Room Door this week. Looking forward to see you again next challenge.
Regards,
TTCRD DT
Scrapbookingmamaw {My Blog}
Through The Craft Room Door
ttcrd.blogspot.com
Thank you so very much Jeanie!
Hi, Kristina! Do you still know the title of this kit? I couldn’t find it on the website you mentioned. Thanks! – Grace (Gracie21)
Here’s the puppy kit, Grace: https://www.newfrog.com/product/dog-diamond-embroidery-5d-diamond-diy-painting-animal-cross-stitch-171526 Enjoy!
Thank you for sharing your adorable diamond painting (and tips!) with us at Through The Craft Room Door. Terrific idea to do the nose and eyes, much better details that way
Thanks so much for your kind comment!
Hi this is stunning. Thank you for joining us at Crafts Galore Encore Challenge Blog for the current challenge which is always Anything Goes. The sponsor is Beccy’s Place. Jackie DT
Thanks so much Jackie!
This is very clever and looks great, always fun to try something new, a very cute dog as well.Thanks so much for sharing your creation at the
November 2018 Anything goes link-up at Just Keep On Creating.
Awww thanks so much Susan!
I’ve never seen this technique before, thank you so much for sharing your beautiful creation and your tips too.
Thank you so much Karen!
Awesome craft. Sure it was time consuming. So glad you shared over at Catch the bug.
Billie A
Catch The Bug
Creative With Stamps
Aud Sentiments
Always Fun Challenges
Colour Crazy Challenge
Creations In Pink
Thanks so very much Billie!
Me again! Lol. This time for Crafter’s Castle! You totally rocked this! xxx
Thank you so much for entering our ATG challenge at Crafter’s Castle this week. We hope to see you next time too!
Blessings, Jeanie
DT
Scrapbookingmamaw {My Blog}
Crafter’s Castle
crafterscastle.blogspot.com
Thanks so much Jeanie!
It’s so cute! I am working on my first one too. I’m about half way done. I like the square diamonds better than the round ones. I can’t wait to finish it and get another one! LOL
Thanks Karen Sue! I haven’t tried different types. These were all sent to me by Newfrog for me to try and review and I’ve loved them all! 🙂
I have never heard of this and don’t really understand it…..I need to watch a video. But I love what you did…..beautiful work 🙂 Hugs…Janie
Thanks so much Janie! I hope you found the video helpful