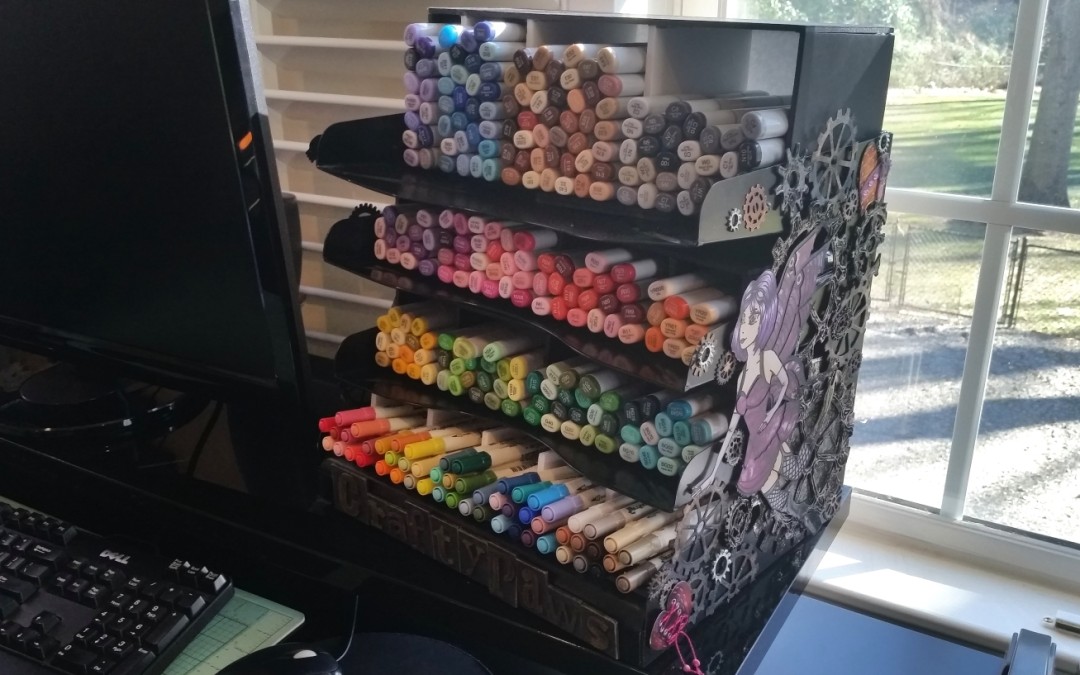
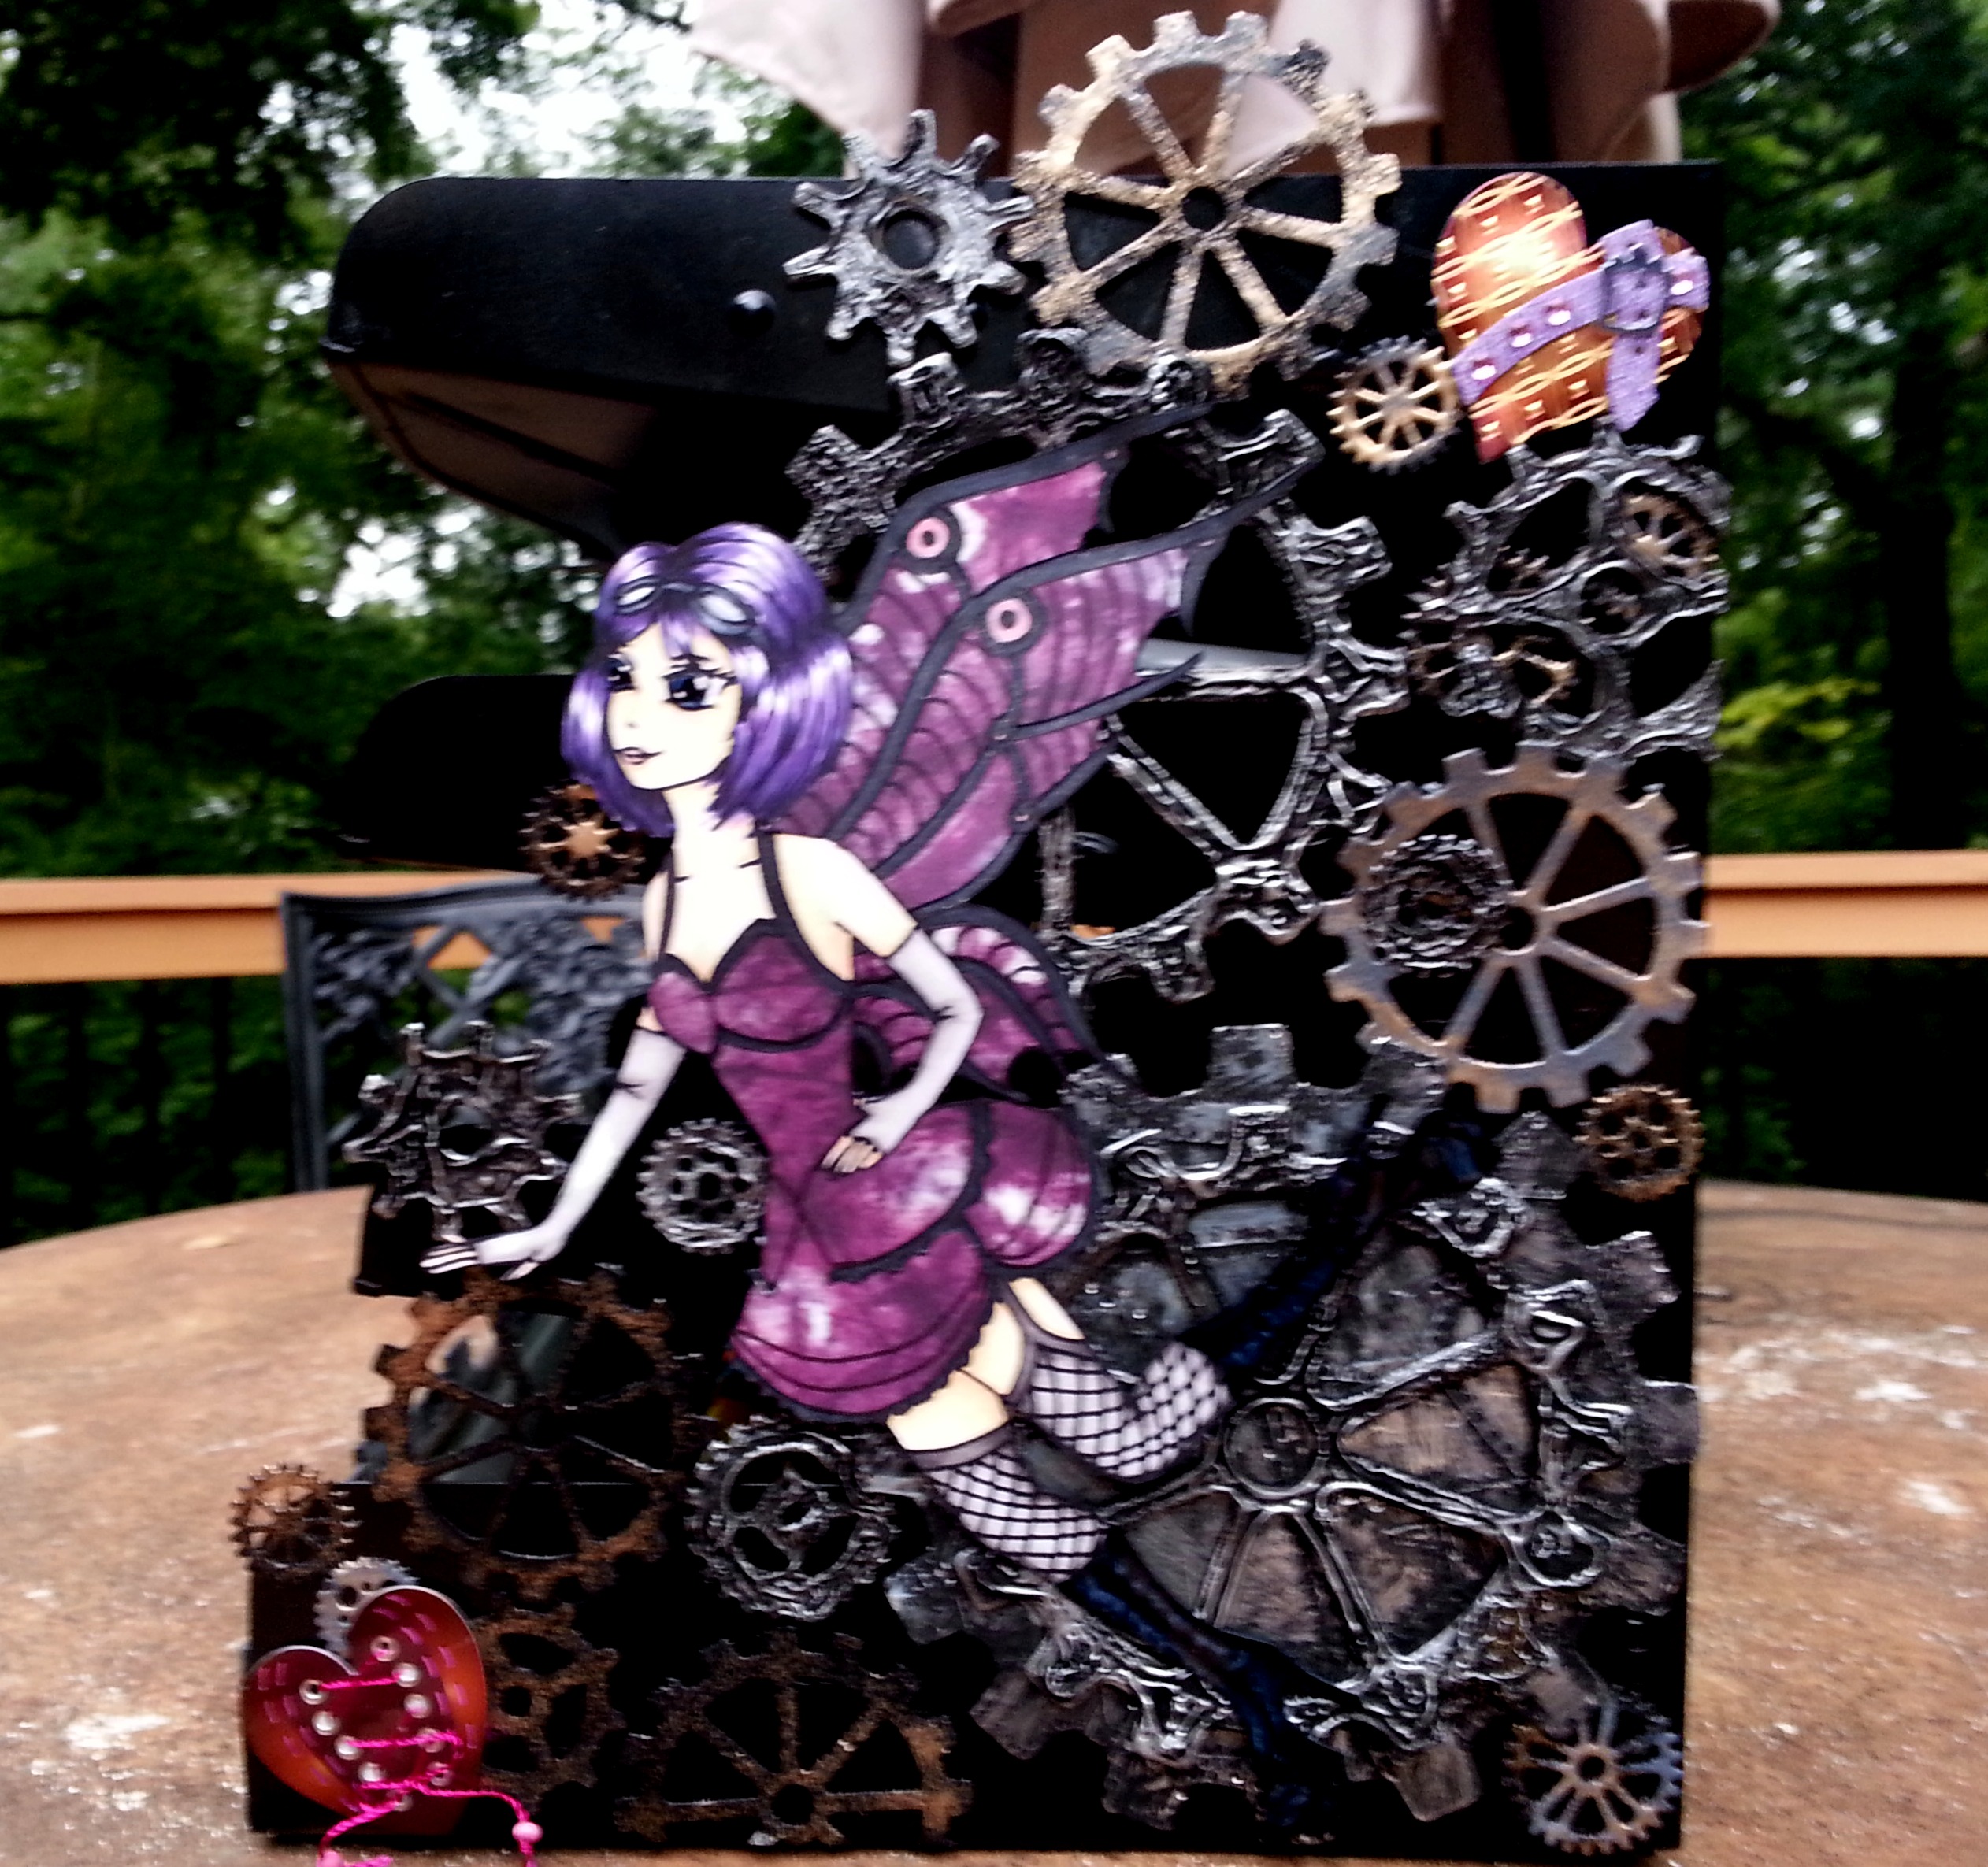
I used a $2 thrift store find and upcycled it to house all of my Copic and Distress Markers. The 4 level heavy duty metal letter tray started its life in an ugly industrial green. I sprayed it with several coats of black spray paint and then embellished the sides with gears that I die cut out of chip board using the Diemond Dies Steampunk Gears Die Set, the Diemond Dies Steampunk Gears Mini Album Die Set, and my Steampunk Fairy Digi (re-released for FREE download now through January 31, 2016). I used three different methods of creating a faux metal look to give these gears a lot of texture and interest. I also added “CraftyPaws” on the front with some Tim Holtz Grungeblock letters that I distressed with black acrylic paint, sand paper, and Distress Ink in Antique Photo.
 I had used the storage unit with each color family of markers bound together with rubber bands. It was workable, but not elegant. That is, I could see and find what I needed, but accessing and then replacing each marker was cumbersome. I found myself hesitating to use more colors because I didn’t want to be bothered with getting it out of the rubber bands.
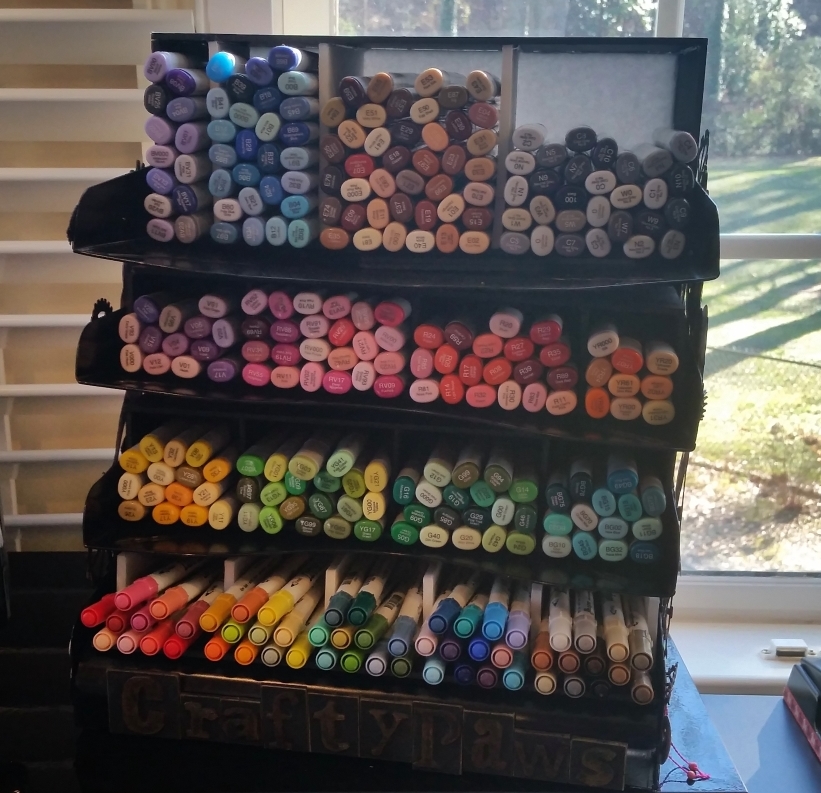
Finally, with some left over foam core board that I had picked up from the Dollar Tree and Staples to make a Distress Ink Pad Storage Unit (YT tutorial HERE), I made some simple boxes with compartments for each color family of markers.
 All I needed to do was measure the space I needed to hold the markers in my collection and the vertical and horizontal measurements of each level of the letter tray. I used an Xacto knife to cut the foam core board the the appropriate widths and lengths and glued each compartment together with hot glue. Because the metal letter tray holder is so sturdy, I did not feel the need to do cross cuts or anything complicated to strengthen each joint of the foam core compartments. I simply used metal Shurtape from the HVAC department of the hardware store to reinforce the back side of each foam core box (being hidden by the back of the letter tray holder, I didn’t even have to worry about hiding the tape).
This entire unit cost under $3! I was so happy to have my newly re-vamped marker storage unit, and I have felt so much freer to use more colors! LOL
The following is a video share of this project:
This marker storage unit is being entered into the following challenges:
Simon Says Stamp Monday Something New Challenge
Simon Says Stamp Wednesday Something New Challenge
I hope this post inspires you to tackle any DIY or organizational projects you’ve been putting off. Thanks for stopping by, and have a great day! WOOF


Your DIY Copic marker storage system is amazing! I love upcycling and you have used it perfectly here! Thanks so much for playing Simon Says Stamp Wednesday “Something New” Challenge! So awesome to see your project and video!
Thanks so much Virginia! I am so pleased with how functional this upcycled project came out. TF stopping by and taking the time to leave your super sweet and encouraging comment! Big hugs, Kristina
What a great idea, it looks great and easy to use. I just love my thrifty finds, lol. Thanks so much for sharing with us.
Hugs,
Thanks so much Tammy! Sometimes I think vintage finds are so much better than current things because they were built to last. It seems like this letter tray holder could make it through a war (and it may have!). TF stopping by! Hugs, Kristina
Hey Kristina, love your upcycle marker holder! Love ya’ Patricia B
aww thanks so much for taking the time to stop by and leave your sweet comment Patricia! xoxo, Kristina
Organization AND style? Yes, please! You did a great job on this and your post got me to looking around the forgotten nooks of my basement in order to find something to upcycle. This is very clever and I appreciate the inspiration so much! Thank you for sharing your work with us for this week’s Simon Says Stamp Monday Challenge!
Awww thanks so much Andrea! Your comment made my day! I am so tickled that I was actually able to motivate you to look around to upcycle something. Thank you so much for taking the time to leave me this wonderful comment. I truly appreciate it! TF stopping by! Hugs, Kristina
Perfection!!! TFS
Awww thanks so much Michelle!