What to make for a new mom-to-be when you aren’t up for a mini album project (which I never seem to be)? How about an easel frame card? They are quick and easy and super fun to give and receive. The easel frame card is simple to make. You just need one 8.5″ x 11″ piece of cardstock (you’ll have 1/4 left over), some decorative paper, an Exacto-type knife, and embellishments (dimensional stickers do just fine, and super cute ones can be found at the dollar store).
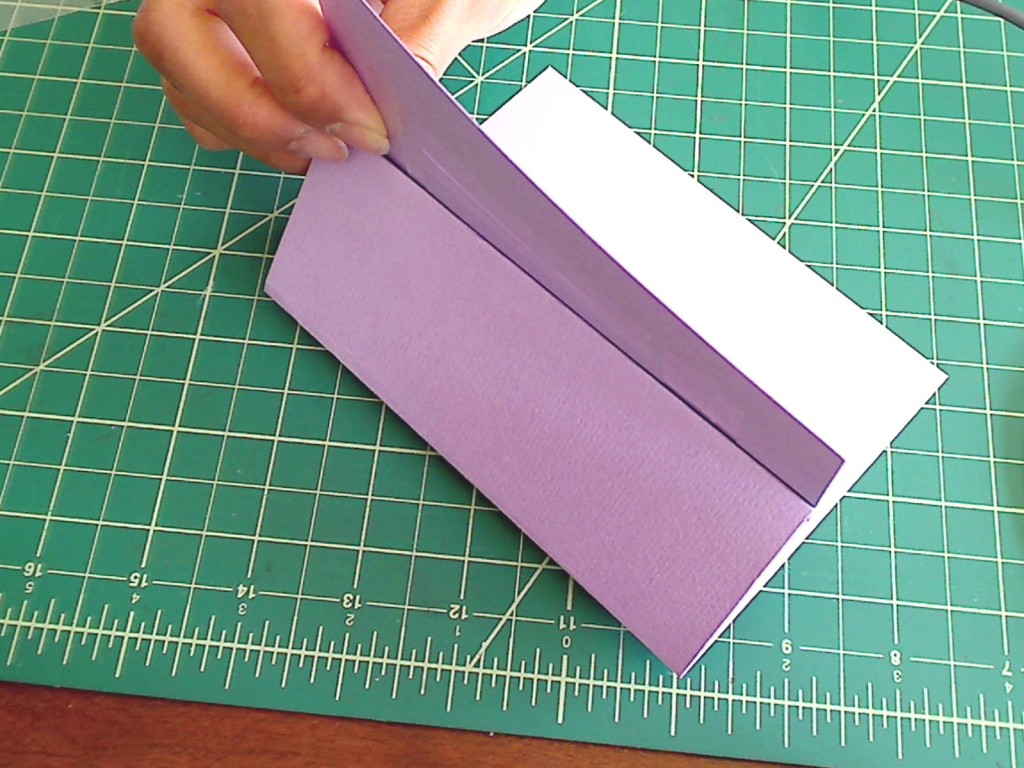 The standard directions for a plain easel card is to cut the card stock in half width-wise (creating 2 pieces that are 8.5″ x 5.5″). Fold one of those pieces in half and take one half of that folded sheet and fold it again. That’s it. That is the base of your easel! You can then take the other half piece of card stock and cut that in half to be the base of the frame or upright part of the card (4.25″ x 5.5″). Glue this to the front part of the base. HINT: Since this joint will take a lot of pressure and movement, I would recommend a strong tape like Scor-tape if you have it.
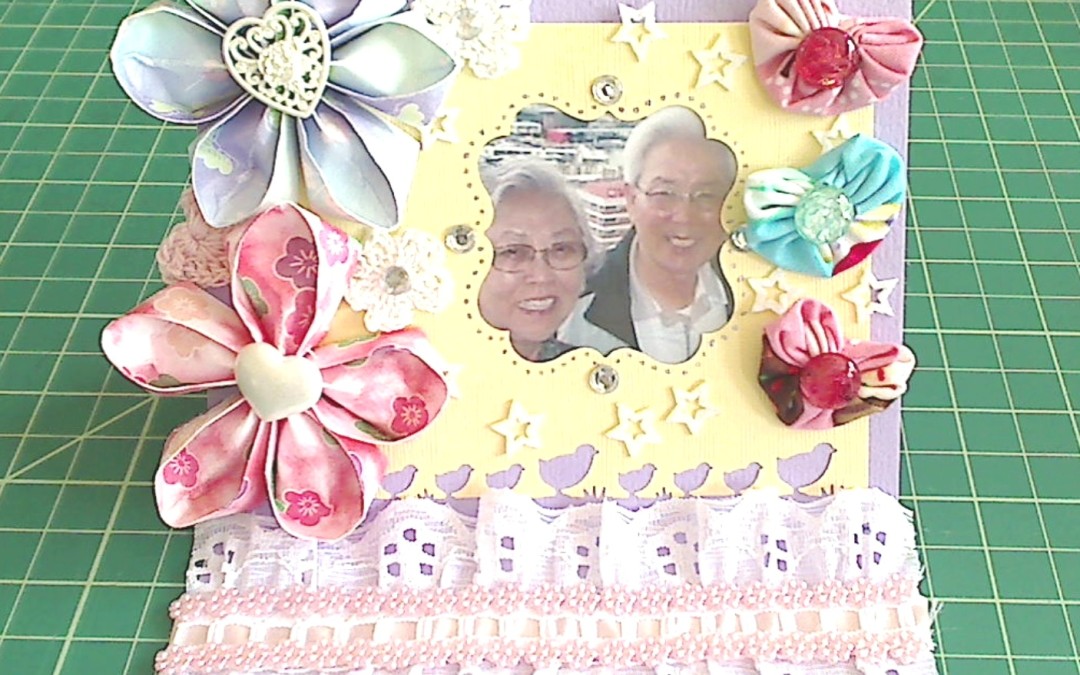
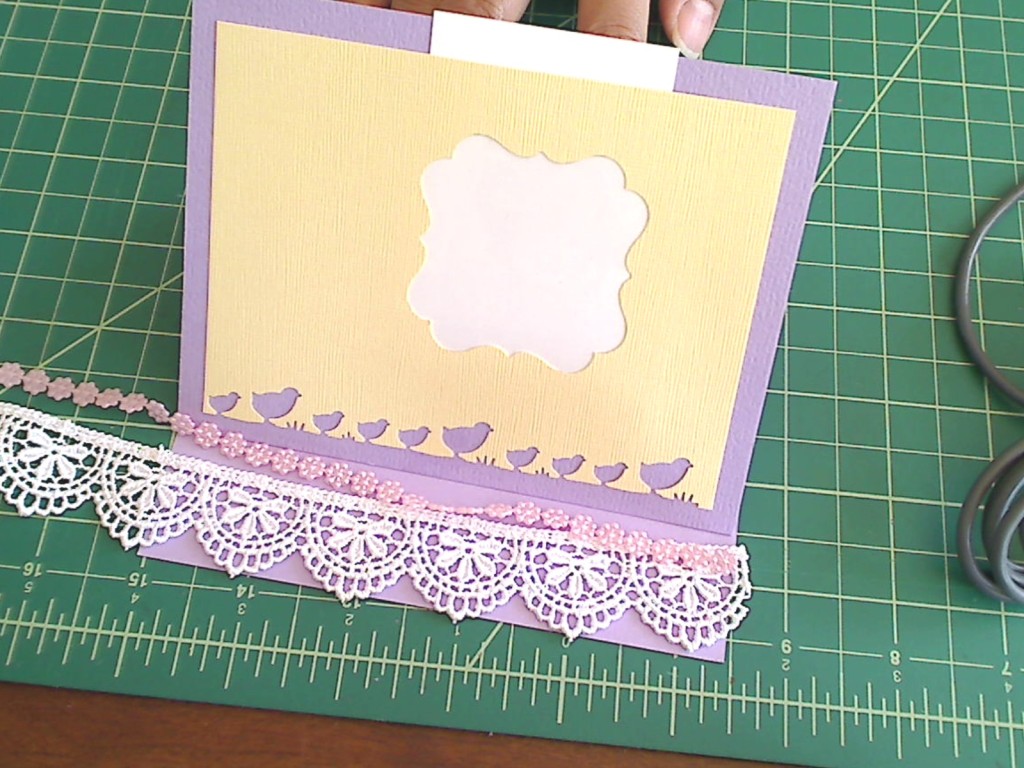 Next take your decorative paper and punch out a frame “window” (I’ve used the EK Success Large decorative frame punch) or use and Exacto type blade to cut out a larger window. That decorative piece will be the front of the frame or card. If you want to go the extra mile, you can tape a piece of acetate behind the window so that the picture will be protected “behind glass” (as it were). Then adhere the front frame decorative paper to the base of the frame. REMEMBER: do not glue down the top above the window so that the card recipient can slide a photo into the frame. The last step is to add some trim to the bottom base of the card to prop up the easel part of the card. I tried out different laces and flower trims, making sure that it would not bulk up the card too much so the card can close. Then I went nuts embellishing the front of the frame. This is going to be a card for my mom’s birthday, which is coming up in the spring.
The following is a video where I made a handful of these easel card frames for a charity (BirthRight) that supports expectant moms-to-be.
Thanks for stopping by! Subscribe if you wish, and have a great day! WOOF


