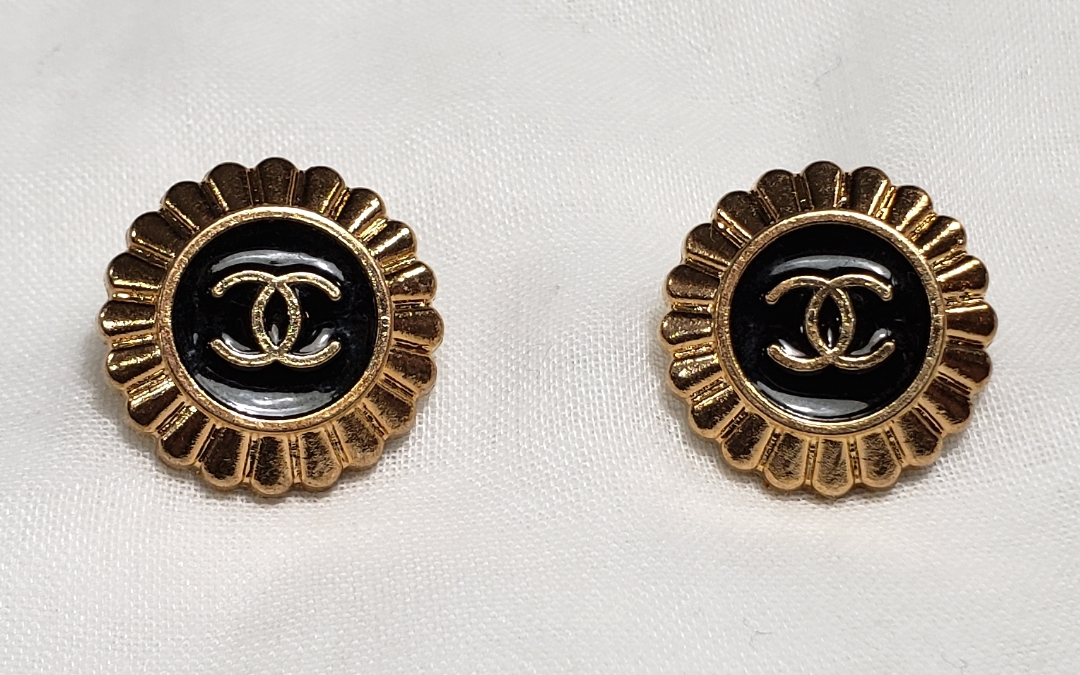
I have been admiring Chanel jewelry for a while now, but the prices of Chanel costume jewelry (yes, they are NOT real pearls, diamonds, etc.) is astronomical (IMHO). So when I happened upon some authentic Chanel buttons on eBay for around $25 per pair, I knew that I wanted to try crafting some authentic Chanel earrings with them!
First I bought 2 black and gold sets of vintage buttons and a pair of silver bottle cap style buttons. I used wire cutters to cut off the shanks from the back of the buttons (please use gloves and protective eye wear in case small metal pieces fly), and where I couldn’t get low enough on the shank (the gold button shanks were very thick), I ground them down with a metal file.
Next I used some EnviroTex Jewelry Clay, completely mixing equal small amounts of A clay with B clay. Then I carefully inset the clay into the wells on the backs of the buttons. If your buttons are flat, you could skip this step completely, but mine had deep wells so I had to level the backs to the edges of the buttons. Have patience at this point: to fully cure, you need to leave this jewelry clay for 24 hours.
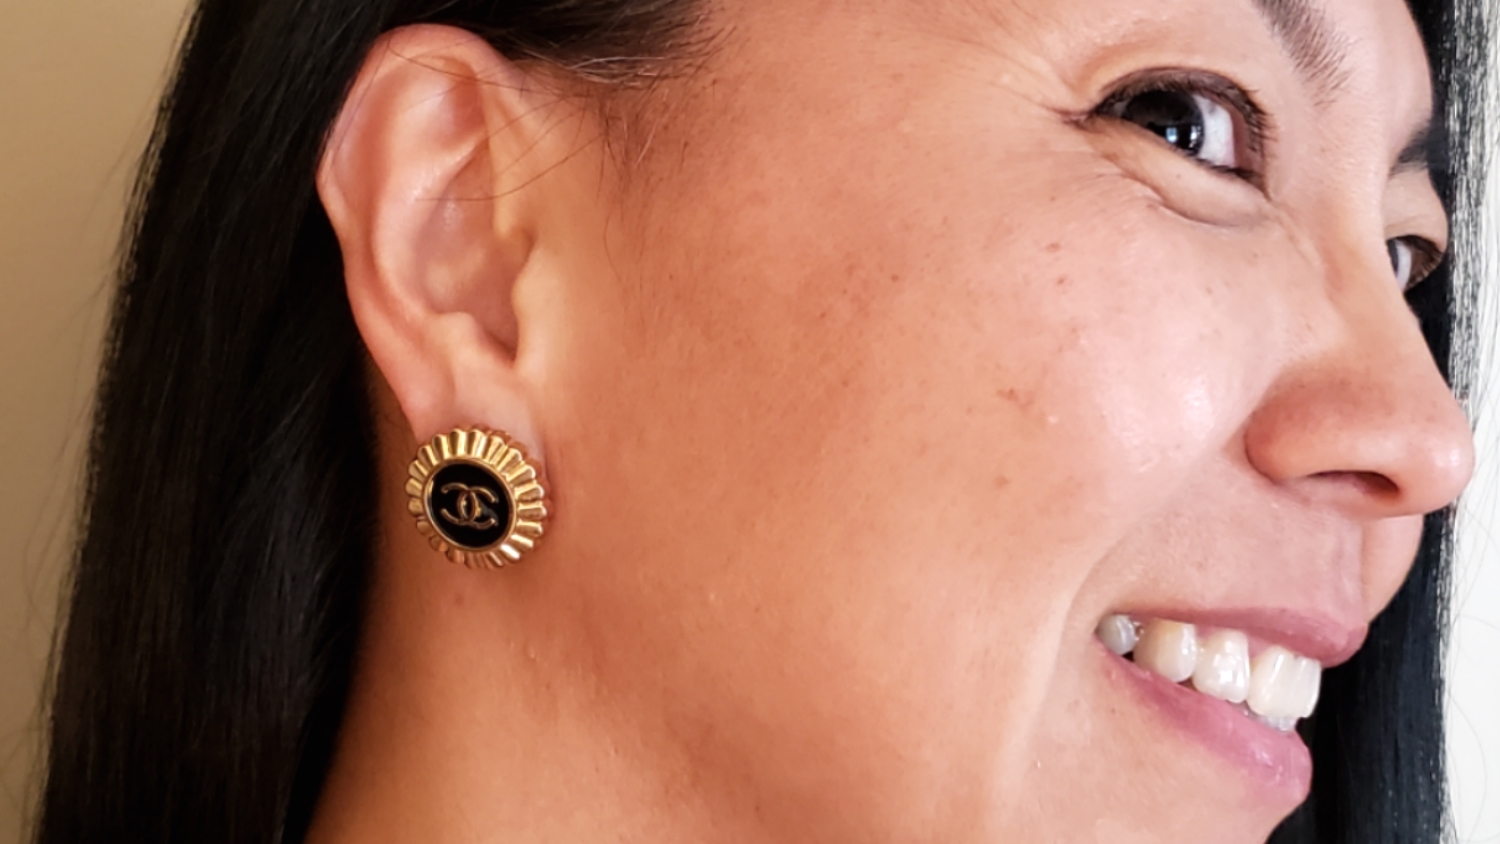
What I should have done next is paint the clay on the earring backs, but I jumped to attaching the Jewelry Shoppe 18K gold (nickel free) 8mm earring posts with E6000 glue. When that had fully dried after a couple of hours, I painted 2 coats of Artist’s Loft metallic acrylic paint — gold for the gold earrings and a mix of silver and white for the silver earrings.
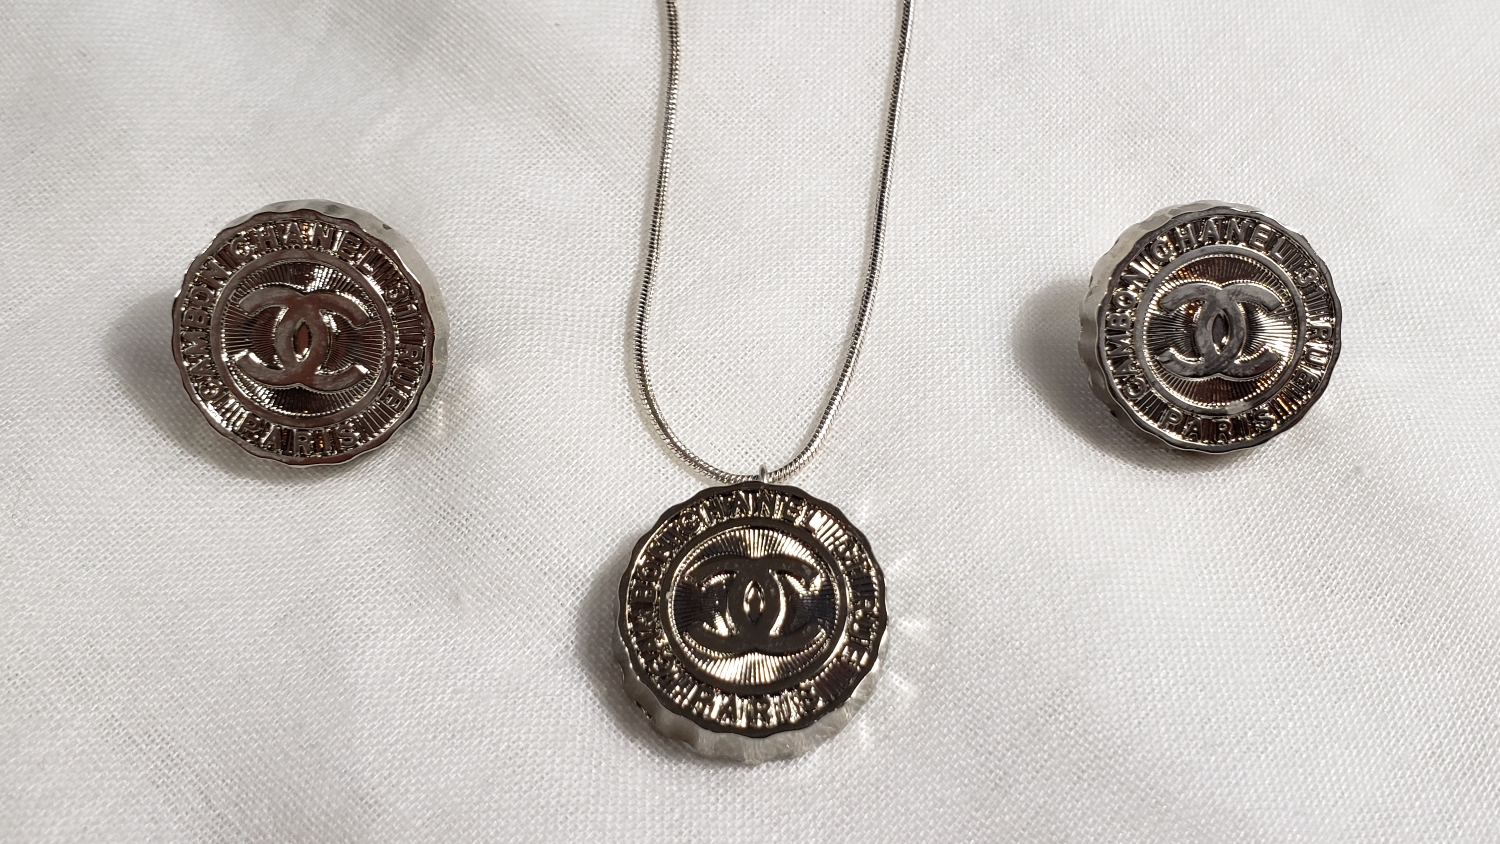
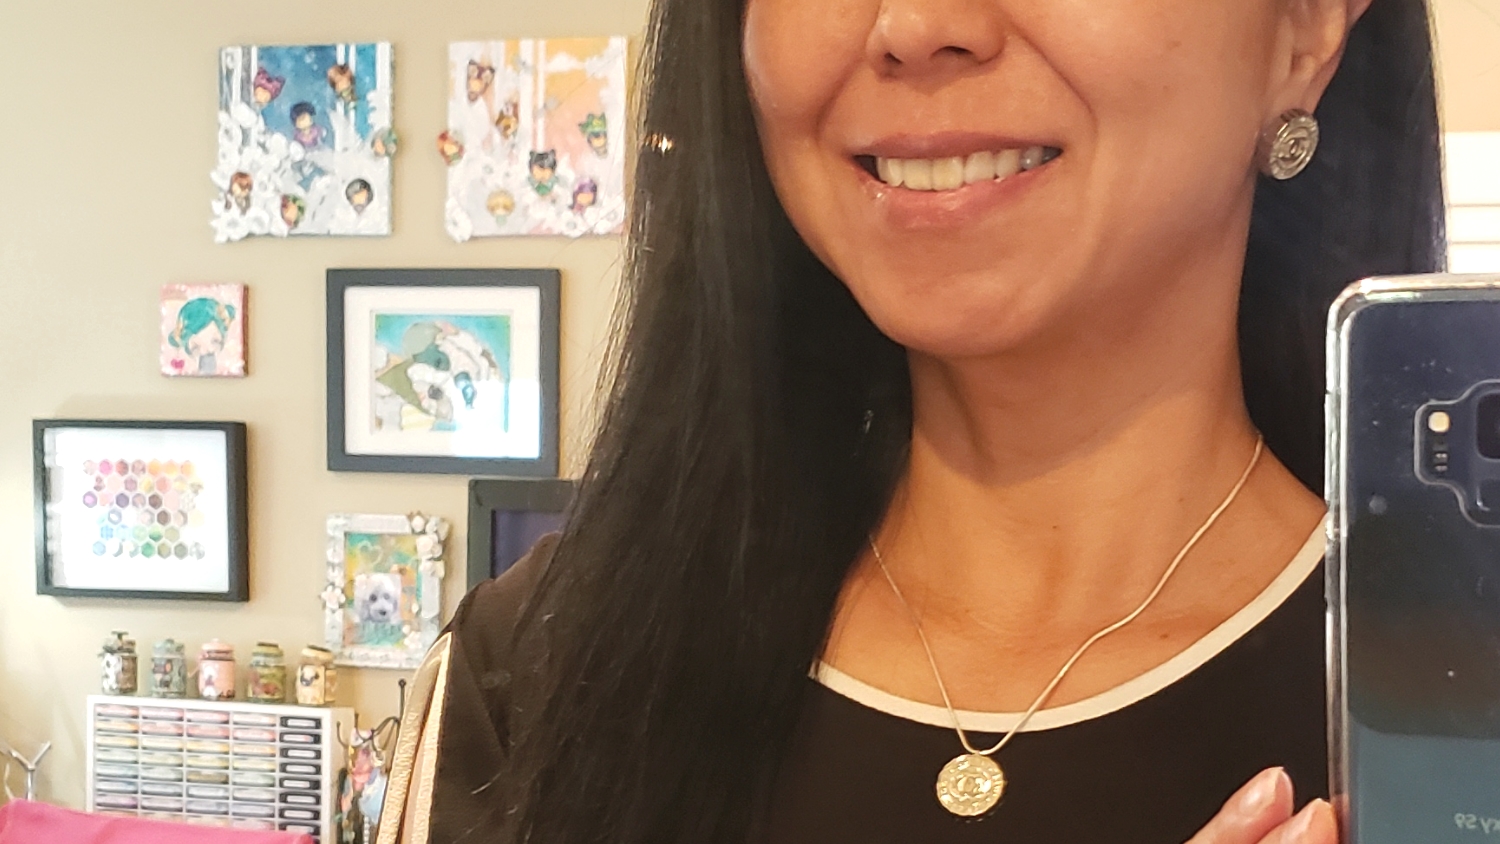
One of the eBay sellers actually sent me a bonus button so I also made a pendant necklace with that extra! To create this necklace pendant, I used flat and round pliers to create a eye loop pin from silver wire. Then, before the jewelry clay could fully dry, I inserted this eye loop pin into the soft clay, making sure it was centered at the top of the button design (the silver bottle cap designed buttons had a top and bottom). Again, after this clay fully cured, I painted the back with Artist’s Loft metallic silver and white acrylic paint and put a thin silver chain through the eye loop.
CLICK the picture below to watch the step by step process video of how I converted these Chanel buttons into authentic Chanel earrings:

Disclosure: Many of the supplies I’ve used for today’s project are linked. Some may be affiliate links, which means if you make a purchase I receive a small commission at no extra cost to you. I truly appreciate your support toward the costs of running this blog!
These Chanel earrings are being entered into the following challenges:
Simon Says Stamp Wednesday Anything Goes Challenge
Word Art Wednesday Anything Goes Challenge
Through the Craft Room Door Anything Goes Challenge
Crafts Galore Encore Anything Goes Challenge
Crafter’s Castle Anything Goes with Optional Use Glitter


Hi your makes are gorgeous. Thank you for joining us at Crafts Galore Encore Challenge Blog for challenge 61 which as always is Anything Goes. The sponsor is Bugaboo Stamps. Jackie DT
Awww thanks so much Jackie!
What a lovely project – I enjoyed seeing such a unique entry! Thank you for sharing these with us at the Simon Says Stamp Wednesday challenge!
Awww thanks so much Lin!
Good deal! And no one else will have the same ones as you. That makes them worth more. LOL
Awww thanks so much Victoria! Yes, they are one-of-a-kind, unless others use buttons to make earrings too. LOL
How did you make the loop for the necklace?
Sorry for the late reply. I used the same jewelers putty/clay and simply added an eye pin into the clay to make the loop. I made the eye pin with some jewelry wire and a round needle nose plier. Hope this helps!