There are so many types of handmade cards that even if that is the only type of crafting you do, you could be occupied and entertained indefinitely trying different styles and embellishment techniques. I’ve tried my hand a a few of them, so I thought I would share what I know.
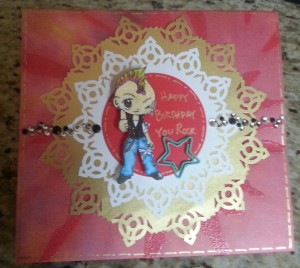 First, there is the “masculine” card. That basically means the colors are gender neutral, sometimes there is a rugged theme, or there is a boy image on the card. Crafters, who are mostly women, often struggle with this style, but they are not to be feared if you keep those basic ideas in mind (and don’t rely too heavily on lace or flowers for your embellishments–LOL).
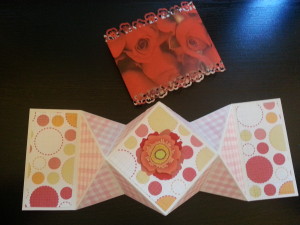 There are tons and tons of fancy fold cards (many of them are easier than you’d think). Some of my favorites are (1) the Diamond Fold Card (shown at right with a belly band; the link is for YT: Christina Thomas’ tutorial), the Magical Marquee Card (tutorial by YT: Jan Tinklenberg), the Waterfall Card (tutorial by YT: Dreaming About Rubber Stamps), the Stretch Card (tutorial by YT: Jen Evers), Secret Door Card (tutorial by me), and Napkin Fold Card (tutorial by YT: Dawn 5377), and the Never Ending Card (tutorial by YT: Veronica Chambers). There are probably several dozen (if not hundreds of) tutorials for each type of card, but the ones I’ve linked to are just the ones I found easy to follow and clear for me.
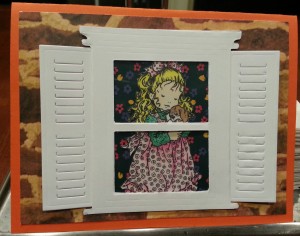
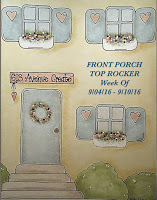
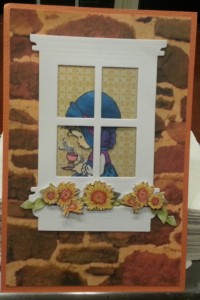 Then there are the cards that folks make with fancy die cuts. I have only recently gotten into those, but I must say that they are pretty sweet. I used a Diemond Dies window set (that includes the window, shutter, and flower box) with sweet colored stamped images on birthday cards for twin girls turning four. It was great fun and the results were great.
Finally, we shouldn’t forget the simple, regular A2 size cards (4.25″ x 5.5″ – you can cut 2 from a normal 8.5″ x 11″ piece of cardstock and it doesn’t cost more to mail unless you add lots of dimension). The Sunburst (tutorial byYT: DOstamping) and the Herringbone (tutorial by YT: Scrappassion01) are both fantastic examples of techniques that add a lot of interest without a lot of bulk.
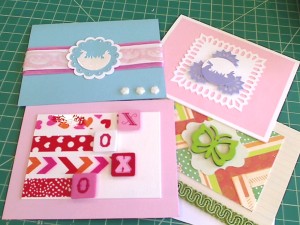
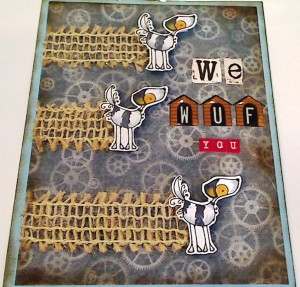 The photo of the card at the top, left and right, as well as the videos below are of some super cute (if I do say so myself) “standard” cards that are great to mail. How elaborate you get is only limited by your imagination!
For the completely over-the-top dimensional cards (those that you will definitely have to pay more to mail but are great options for when you are going to be able to hand-deliver the card to the recipient), the choices of embellishments are literally endless. You can add metal embellishments, crocheted pieces, paper origami details, flowers, bling, lace, etc. The video below is an example of an easel frame card I gifted my mother for her birthday:
Please subscribe if you wish, and thanks so much for stopping by! WOOF













I love all of your cards, love the Window with the shutters!
Thanks so much! Those were really fun to make for Daniella Scheiss-Muller’s twins. 🙂 xoxo, Kristina
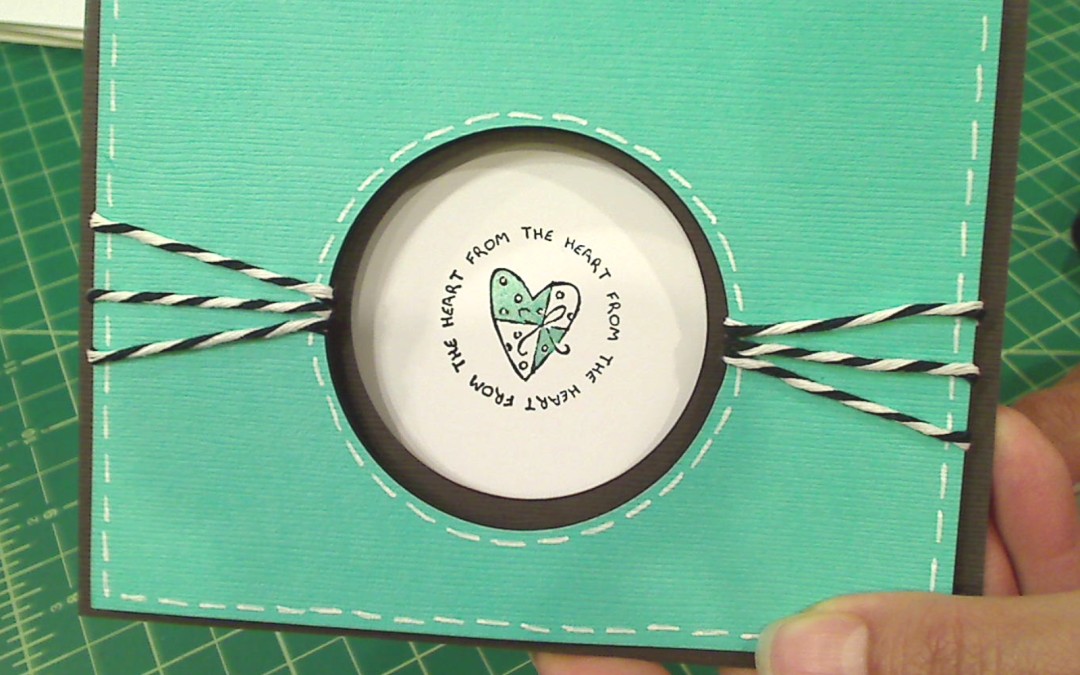
Hi Kristina! I love this mint card so much! my fav color. You rock! xoxox
You are so kind! I’m a blue girl myself, but mint seems to be on trend! LOL xoxo, Kristina
fantastic cards Kristina , i know where to come now for inspo I’m such a card making failure lol xx
I am a super slow card maker, but I do enjoy it. Hopefully these links to various tutorials will be a helpful resource too. xoxo, Kristina
Kristina, I love your cards. Your a very talented lady! I like making easel cards myself, but I love the look of your window cards. TFS, Denise
Thank you so much Denise! I really appreciate your kind comment! Thanks for joining me over on my new blog too. Hugs, Kristina
Kristina, I love the mint and chocolate combination. Your cards are beautiful. I am so glad that I have a craftypaws original! Best of luck with your blog. Hugs, Jill
Thank you so much for your super kind comments. You are just so sweet. I’m blushing. xoxo, Kristina