OMG, I am in love with this technique. It involves fire (which I have always been fascinated by since I was a kid), and the look of grunge metal, which I think is so cool.
All you need is some die cut pieces that would look cool as metal (I used Steampunk gears dies from Diemond Dies** as well as some Tim Holtz gears dies), some Aleene’s Original Tacky Glue, and a flame. Of course reverse grip tweezers (the reverse grip allows you to simply hold the piece without having to keep the tweezers pinched with your fingers–less hand strain) and caution help too. LOL
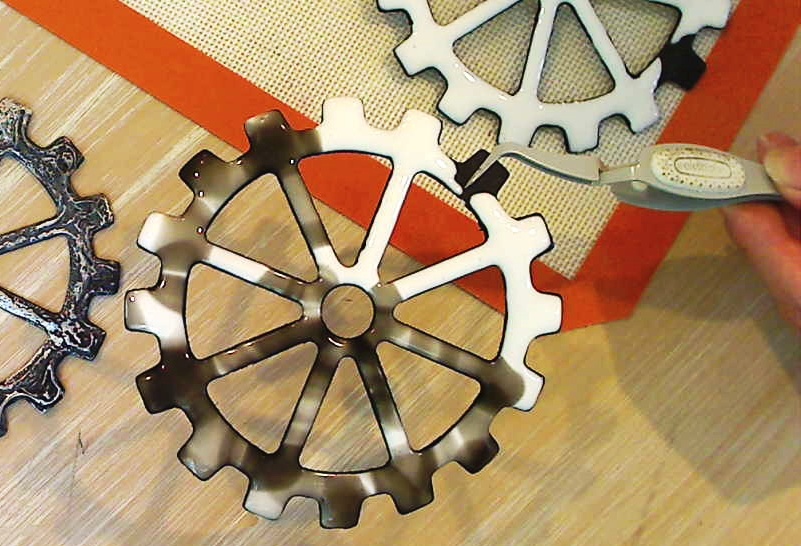 After cutting out the shapes you want from light weight chip board (I used cereal box paper), you put a fairly thick coating of the glue all over one side. Leave a little bit without the glue so that you can hold the piece with your fingers or with the tweezers (you can add glue to that small area and do this process for that area before you do the burnishing step). Then just wave the piece (glue side down) over the top of the flame until all the white of the glue is no longer visible.
You can expect sizzling, popping, bubbles forming and retracting. All of that is good because you want the glue to be stretched and retracted back down to create all the texture, peaks and valleys.
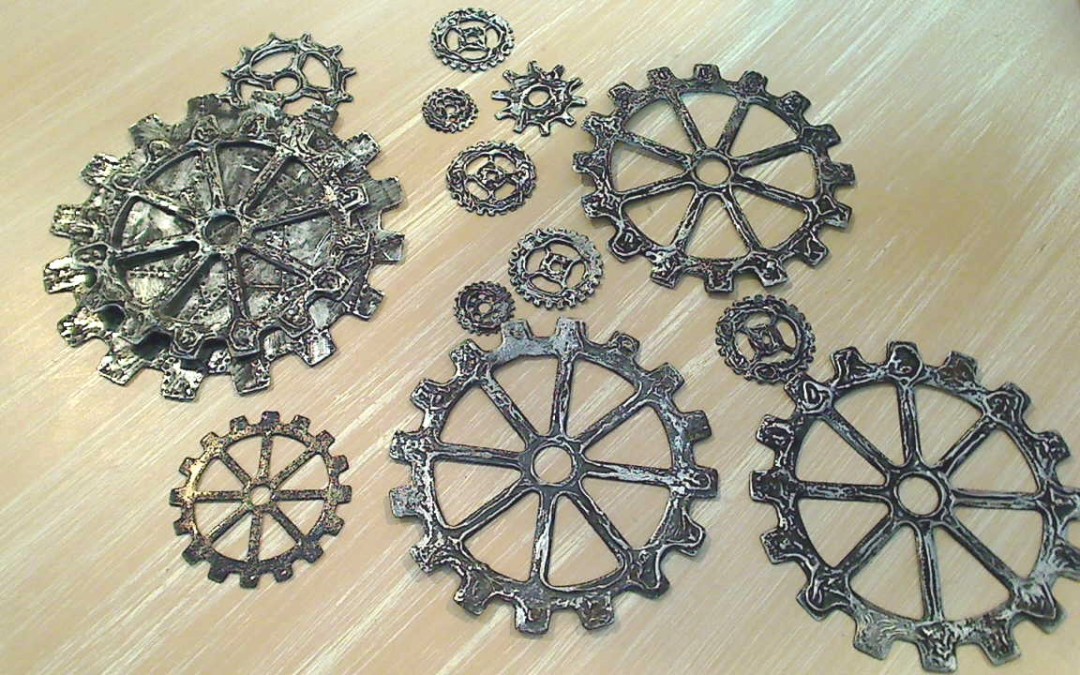
The next step is to burnish the cooled piece with your fingers or with a rag. You’ll see a cool shine come out and the ridges from the dried glue really get accentuated. The last step is to lightly hit the peaks of the dried glue with a little bit of metallic paint, Inka Gold, or Rub ‘n Buff. I used a silver leaf colored Rub ‘n Buff and it came out fantastic.
The following is a video tutorial of this faux metal technique:
** If you make a purchase at Diemond Dies and use the code, thankskristina , at check out, you’ll get 10% off your entire purchase (including sale items) as well as free shipping worldwide on orders over $35!
If you want to check out 2 other faux metal techniques, click HERE
Thanks for stopping by. Please subscribe if you wish, and have a great day! WOOF


Trackbacks/Pingbacks