 This time I die cut all the pieces of the Diemond Dies Teddy Bear Buildable Die Set from kraft and white (if I had a pale pink card stock, I could have used that but since I didn’t I used white and blended on Tim Holtz Distress Ink in Spun Sugar) card stock, except the nose, and ears. Also, I die cut the muzzle piece an extra 4 times, twice with kraft and twice with the pink card stock, to form the floppy ears. Obviously I offset the pink inside the kraft and hand fussy cut the ends and tucked behind the head the bases of the ears to create the look of full floppy rabbit ears. For the eyes, I used the medium and small eye die cut ovals from the set, but used an ordinary 1/4″ hole punch to make the pupils. For the nose, I actually used the largest eye die cut oval with a bit of black card stock. I also doodled in eye brows, a little critter mouth and buck teeth to complete the bunny’s face. As with all the die cut animals, I also used my go-to Uniball Signo White Gel Pen to add highlights to brighten up the eyes, nose and paw pads of the bunny.
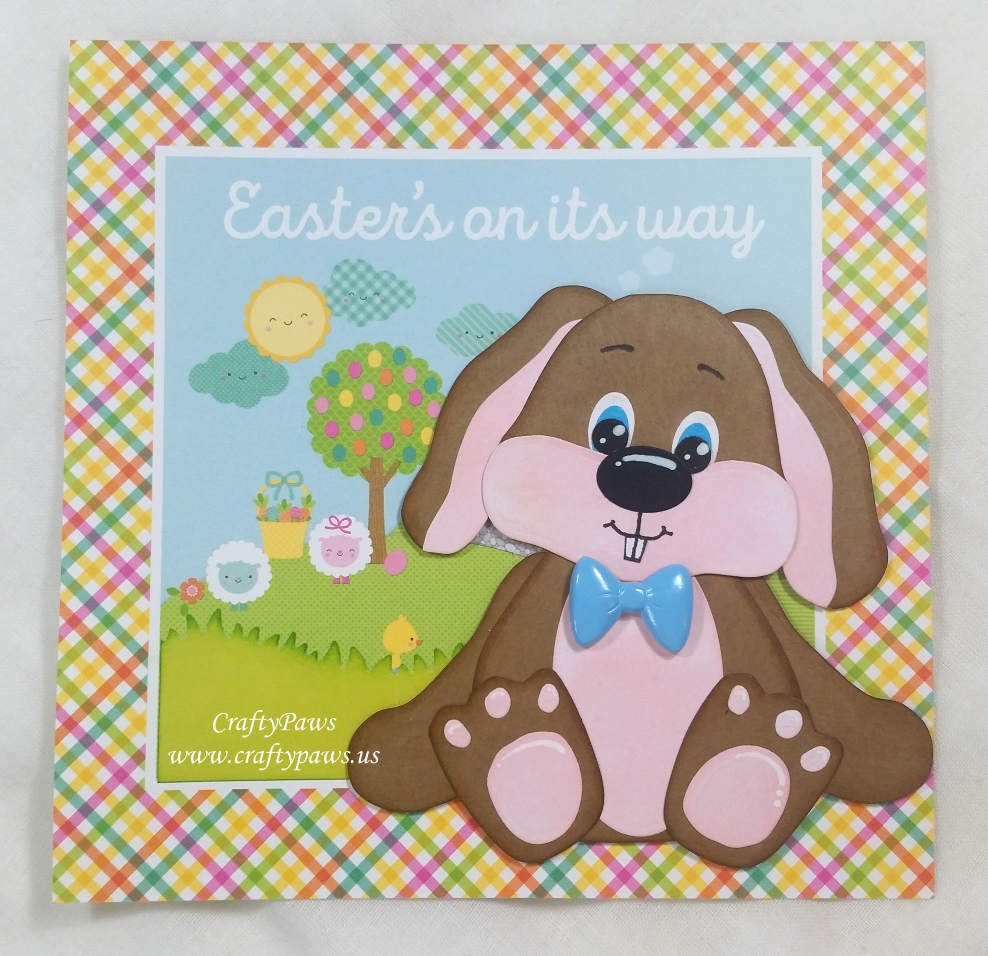
In order for me to make the background image from the Doodlebug Easter Express 6 x 6 Paper Pad work as a background for this card, I had to cover up the small train filled with critters in the foreground of the image (or it would look like the train was running into the bunny’s bum – hohoho). To do that, I took a scrap of pale green card stock from my scrap box, die cut a little grass using one of the dies from the MFT Grassy Hills Die Set, and inked the edges with Tim Holtz Distress Ink in Mowed Lawn. For a bit of something special, I also used a dimensional bow from an old Jolee’s Boutique Bunny Ears Sticker Set and gave this Easter Bunny a bow tie. 🙂
The following is a process video of not only how I made this bunny, but also how I made the dog HERE and bear HERE in the immediately prior posts:
Disclosure: Many of the supplies I’ve used for today’s project are linked. Some may be affiliate links, which means if you make a purchase I receive a small commission at no extra cost to you. I truly appreciate your support toward the costs of running this blog!
Note: My readers can get 10% off and free worldwide shipping on all orders of $35 or more at Diemond Dies by using the coupon code: thankskristina
This card is being entered into the following challenges:
Simon Says Stamp Monday Whatever the Weather Challenge
Word Art Wednesday Anything Goes Challenge
Creatalicious Anything Goes with Optional Girly Challenge
Lil Patch of Crafty Friends Anything Goes Challenge
Crafts Galore Encore Anything Goes Challenge
613 Avenue Create Anything Goes with Optional Reuse/Recycle Challenge
Simon Says Stamp Wednesday Anything Goes Challenge
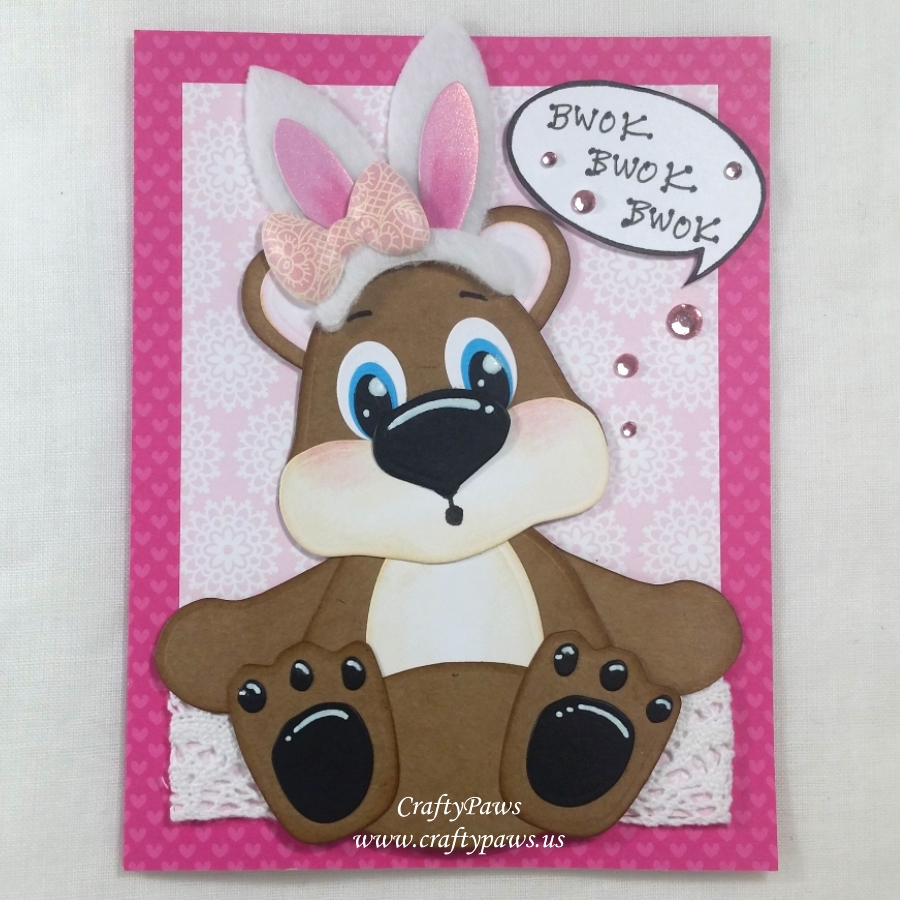 For this Easter card, I used the Diemond Dies Teddy Bear Buildable Die Set and built the bear from kraft, black (nose and paw pads) and white (ears, muzzle, belly and eyes) card stock. For all the kraft pieces, I inked the edges with Tim Holtz Distress Ink in Vintage Photo. For the white pieces that I wanted a hint of color on, I inked the edges with Tim Holtz Distress Ink in Antique Linen. Then for the inner ear white pieces that I blended on some Tim Holtz Distress Ink in Spun Sugar. Oh and I added a tiny bit of aqua card stock for the colored parts of the eyes.
For accents to the bear, I added white highlights with a Signo Uniball White Gel Pen, which I thought really brought the teddy to life. I also added slightly rosy cheeks with Pale Pink and Pink Prismacolor Colored Pencils. The piece de resistance are the fun bunny ears that are from a Jolee’s Boutique Bunny Ears sticker set I had in my stash from last spring.
The card front was made with scraps from the Doodlebug Lovebirds 6 x 6 paper pad (retired). I added a delicate crocheted ribbon for a “ground” for the bear to sit on. Then I added a speech bubble with “BWOK, BWOK BWOK” hand written on it for the faux chicken sounds that the bear would make at the try outs (LOL). Lastly I added pink gems to the speech bubble and flowing from the bears mouth to the speech bubble for extra sparkle.
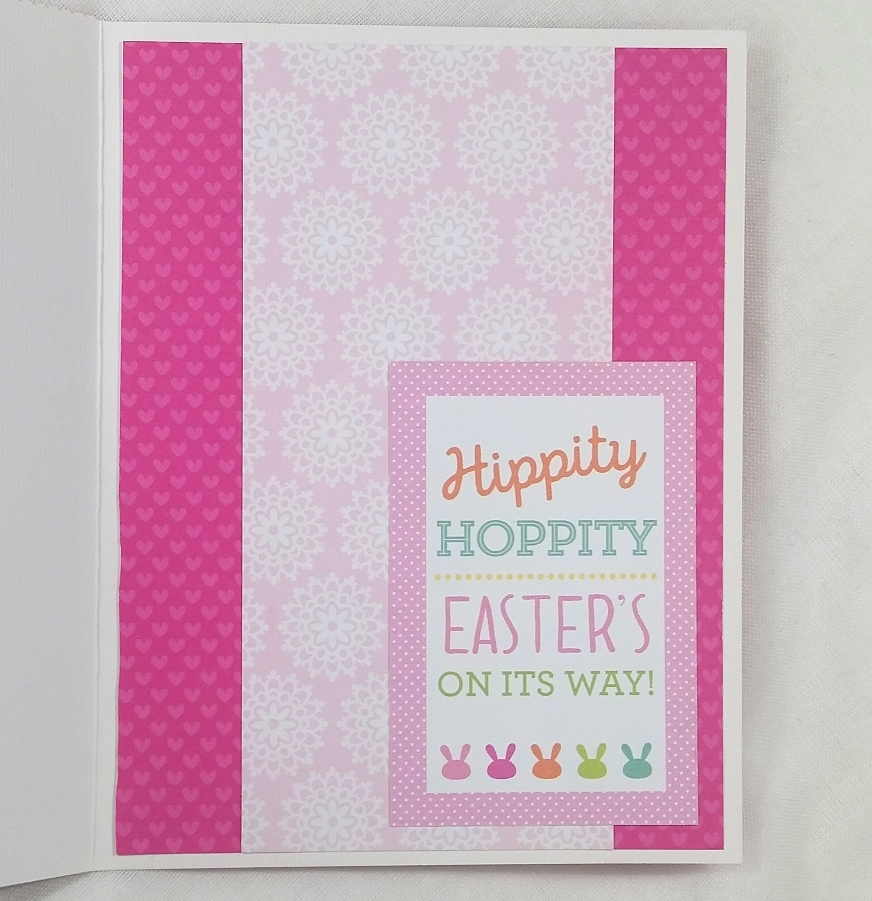 Continuing with my desire to decorate the inside of cards, for the card liner I used more Doodlebug Lovebirds scraps as well as a little sentiment cut apart that says “Hippity Hoppity Easter’s On Its Way!” from the Doodlebug Easter Express 6 x 6 paper pad.
Disclosure: Many of the supplies I’ve used for today’s project are linked. Some may be affiliate links, which means if you make a purchase I receive a small commission at no extra cost to you. I truly appreciate your support toward the costs of running this blog!
Note: My readers can get 10% off and free worldwide shipping on all orders of $35 or more at Diemond Dies by using the coupon code: thankskristina
This card is being entered into the following challenges:
Word Art Wednesday Anything Goes Challenge
Creatalicious Anything Goes with Optional Girly Challenge
Lil Patch of Crafty Friends Anything Goes Challenge
Through the Craft Room Door Anything Goes Challenge
Crafts Galore Encore Anything Goes Challenge
613 Avenue Create Anything Goes with Optional Reuse/Recycle Challenge
Crafty Gals Corner Anything Goes Challenge
Simon Says Stamp Wednesday Anything Goes Challenge
 After rummaging through my scrap box, I found great fun patterned scraps in beautiful secondary but deep/rich colors (I used 10 scraps up! Woot woot!) that I could die cut into a grassy hillside background with the MFT Die-namics Grassy Hills Die and a handful of little chickies with the Easter Die Set from Diemond Dies.
I added little dot eyes to the chickies with a Black Glaze Pen (love the subtle shine and dimension) and shimmery beaks with a Metallic Gold Gelly Roll Pen. I also inked all the edges of each die cut grass, sky and chick with Tim Holtz Distress Ink in Mowed Lawn, Picked Raspberry or Salty Ocean to add a finished look. I printed out the sentiment from my computer and inked the edges of that too. The whole card front is adhered to a square corrugated kraft card base, which I think adds a nice subtle interest to this simple card.
This was s fun and fast little Easter card, and I love how it came out! I hope you all are having a wonderful spring! This card is being entered into the following challenges:
Simon Says Stamp Work it Wednesday Spring Challenge
Lil Patch of Crafty Friends Anything Goes Challenge
Word Art Wednesday Anything Goes Challenge
Creatalicious Anything Goes Challenge Optional Flowers
613 Avenue Create Anything Goes with Optional Spring Challenge
Crafts Galore Encore Anything Goes Challenge
Through the Craft Room Door Anything Goes Challenge
Not Just Cards Easter Challenge
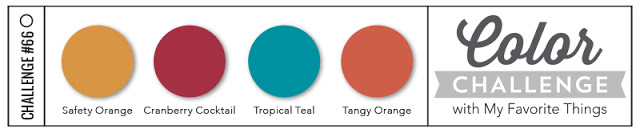
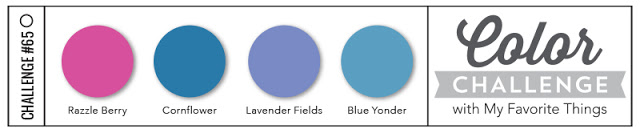
MFT Color Challenge #66
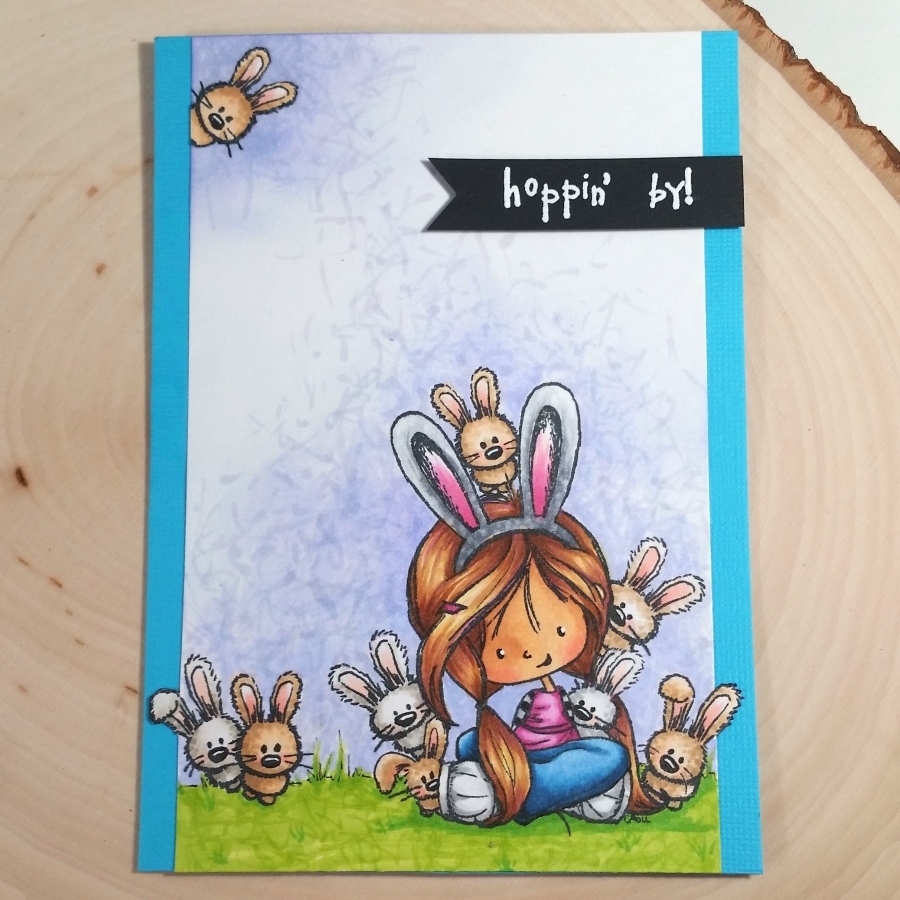 I decided to just revel in stamping and coloring to create a fun springy Easter card using the adorable Tiddly Inks stamp set called Wryn – Somebunny Loves You (photopolymer stamp set I used is now retired but it’s still available digitally). I stamped out Wryn with her two bunny friends and then masked her off to surround her with four more bunnies peeking around her and popping up on top of her. Then I stamped out two more bunnies just to Wryn’s right and another bunny peeking in from the upper left corner of the card front. Isn’t Wryn so LUCKY to be surrounded by all this critter love?! Having the 3 “clusters” of images I think gives the card design a visual balance.
I used the following TON of Copic markers (but I know a similar look could be achieved with much fewer, but as I said, this was just pure play for me so I didn’t hold back):
Bunnies and Wryn’s Skin: N0, N1, N3, W0, W1, W3, E40, E41, E43, E21, E31, R20, R30, E50, E51, E53
Wryn’s Stripey Sleeves and Bunny Ears: C2, C5, C7, R20, RV55, and 0 for dotting on ears for texture
Wryn’s Hair: E35, E37, V06 and Y11
Blue Pants: B14, B21 and B37
Razzle Berry Top: RV52, RV55 and RV17
Lavender Sky: Tim Holtz Distress Ink in Shaded Lilac water colored on and then sketchy squiggly texture added with BV31 and V20
Grass: YG25 and G14 with squiggly texture added over top with YG25 again
Then to add a little more interest on this single-layered card, I cut away a small border on either side of the card front so that little bunny ears would hang over the edges. I used my paper trimmer to make the straight cuts and fussy cut around the bunny ears, inking the edges with a Momento Tuxedo Black Marker to finish off the edges. I put the card front, now trimmed down, onto a vibrant blue card base so I could get a pop of color that coordinated with Wryn’s pants and frame out the whole scene. I heat embossed the sentiment (also from the stamp set) with Ranger Super Fine Detail White Embossing Powder on black card stock, cut it into a banner shape, and popped that up on double sided foam adhesive for a little dimension.
The following is a video share of this card (including explanations of the 3 oopsies that I was able to cover up):
This card is being entered into the following challenges:
Tiddly Inks Animal Magic Challenge – WINNER
Simon Says Stamp Wednesday Bit O’ Green Challenge
MarkerPOP Lucky Pot of Gold Challenge
Word Art Wednesday Anything Goes Challenge
Addicted to Stamps and More Holiday Challenge – WINNER
Lil Patch of Crafty Friends Anything Goes Challenge
Fab ‘n’ Funky Children Challenge
CASual Fridays Off the Edge Challenge
Krumsprings Think In Thirds Challenge
MFT Color Challenge #65
]]>
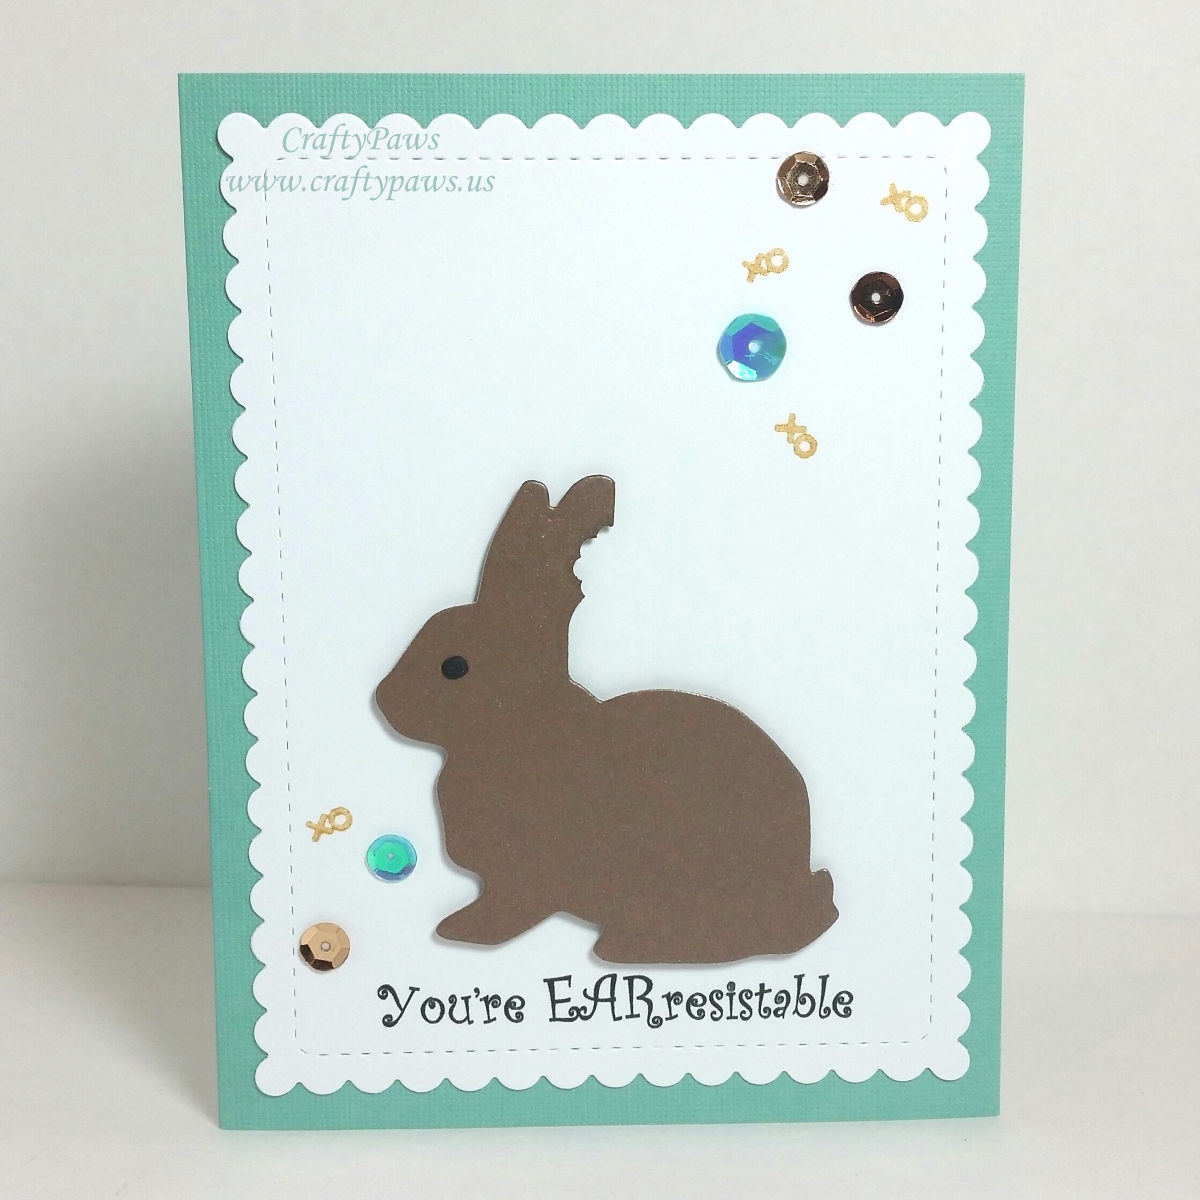 I know that after the kids give and receive these cards, they are likely to get thrown away, so I wanted to make them all nice (after all, what’s the point of hand made cards if they aren’t special), but I didn’t want to spend hours coloring up images for each one. The perfect solution was using die cuts. I used the adorable bunny die from the Diemond Dies Easter Die Set with various chocolate colored papers (scraps from my stash) and a hand held hole punch to cut out a shape that looked like someone had taken a bite out of the chocolate rabbits’ ears. For the eyes of the bunny, I used the dots from the Easter egg from the same Diemond Dies Easter Die Set.
For the card bases, I used pre-cut mint colored card bases that I had picked up as a Hot Buy at Michaels (80 card bases and envelopes for only $5!). For the card front, I printed out the sentiment, “You’re EARresistable,” in a fun font and used the scalloped frame from WPlus9’s Sunshine Layers die set to cut out the base.
Then I picked a few sequins in chocolate brown, gold, and irridescent aquamarine to add some interest and sparkle. Lastly I took the tiny “xo” stamp from the Paper Smooches “Chubby Chums” stamp set and used Delicata Golden Glitz gold ink to add more of a feeling of celebratory confetti to the area with the sequins. It may seem like nothing much, but I think those little x’s and o’s make all the difference in giving these cards a fun and finished look.
The following is a quick video share of these cards:
These cards are being entered into the following challenges:
Simon Says Stamp Wednesday Create with Critters Challenge
Whimsy Inspirations Challenge – With Love
Not Just Cards Anything Goes Challenge
613 Avenue Create Anything Goes Challenge
Lil Patch of Crafty Friends Anything Goes Challenge
Word Art Wednesday Anything Goes Challenge
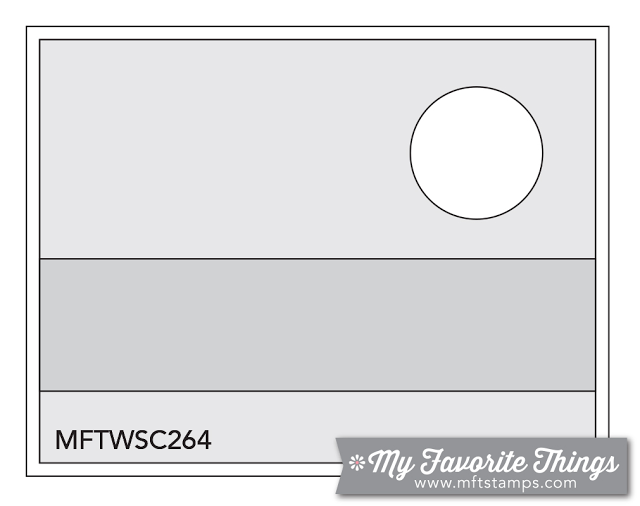
MFT Wednesday Sketch Challenge #264
Paper Smooches January 4 Color Challenge – mint, chocolate, gold, and irridescent aquamarine
![]()
I used some kraft card stock and clear embossing powder with this fabulous woodgrain stamp from the Lawn Fawn Woodgrain Backdrop Set to create a textured background like the card is section of a tree trunk. I then used the 12th largest circle from the Diemond Dies Die-Normous Stack-Ems Circle Nesting Die Set to cut out a hole. On the kraft card base, I used a little black ink with a finger dauber and darkened up the area where the hole would be positioned. I added some foam adhesive to the wood grained piece to create some dimension.
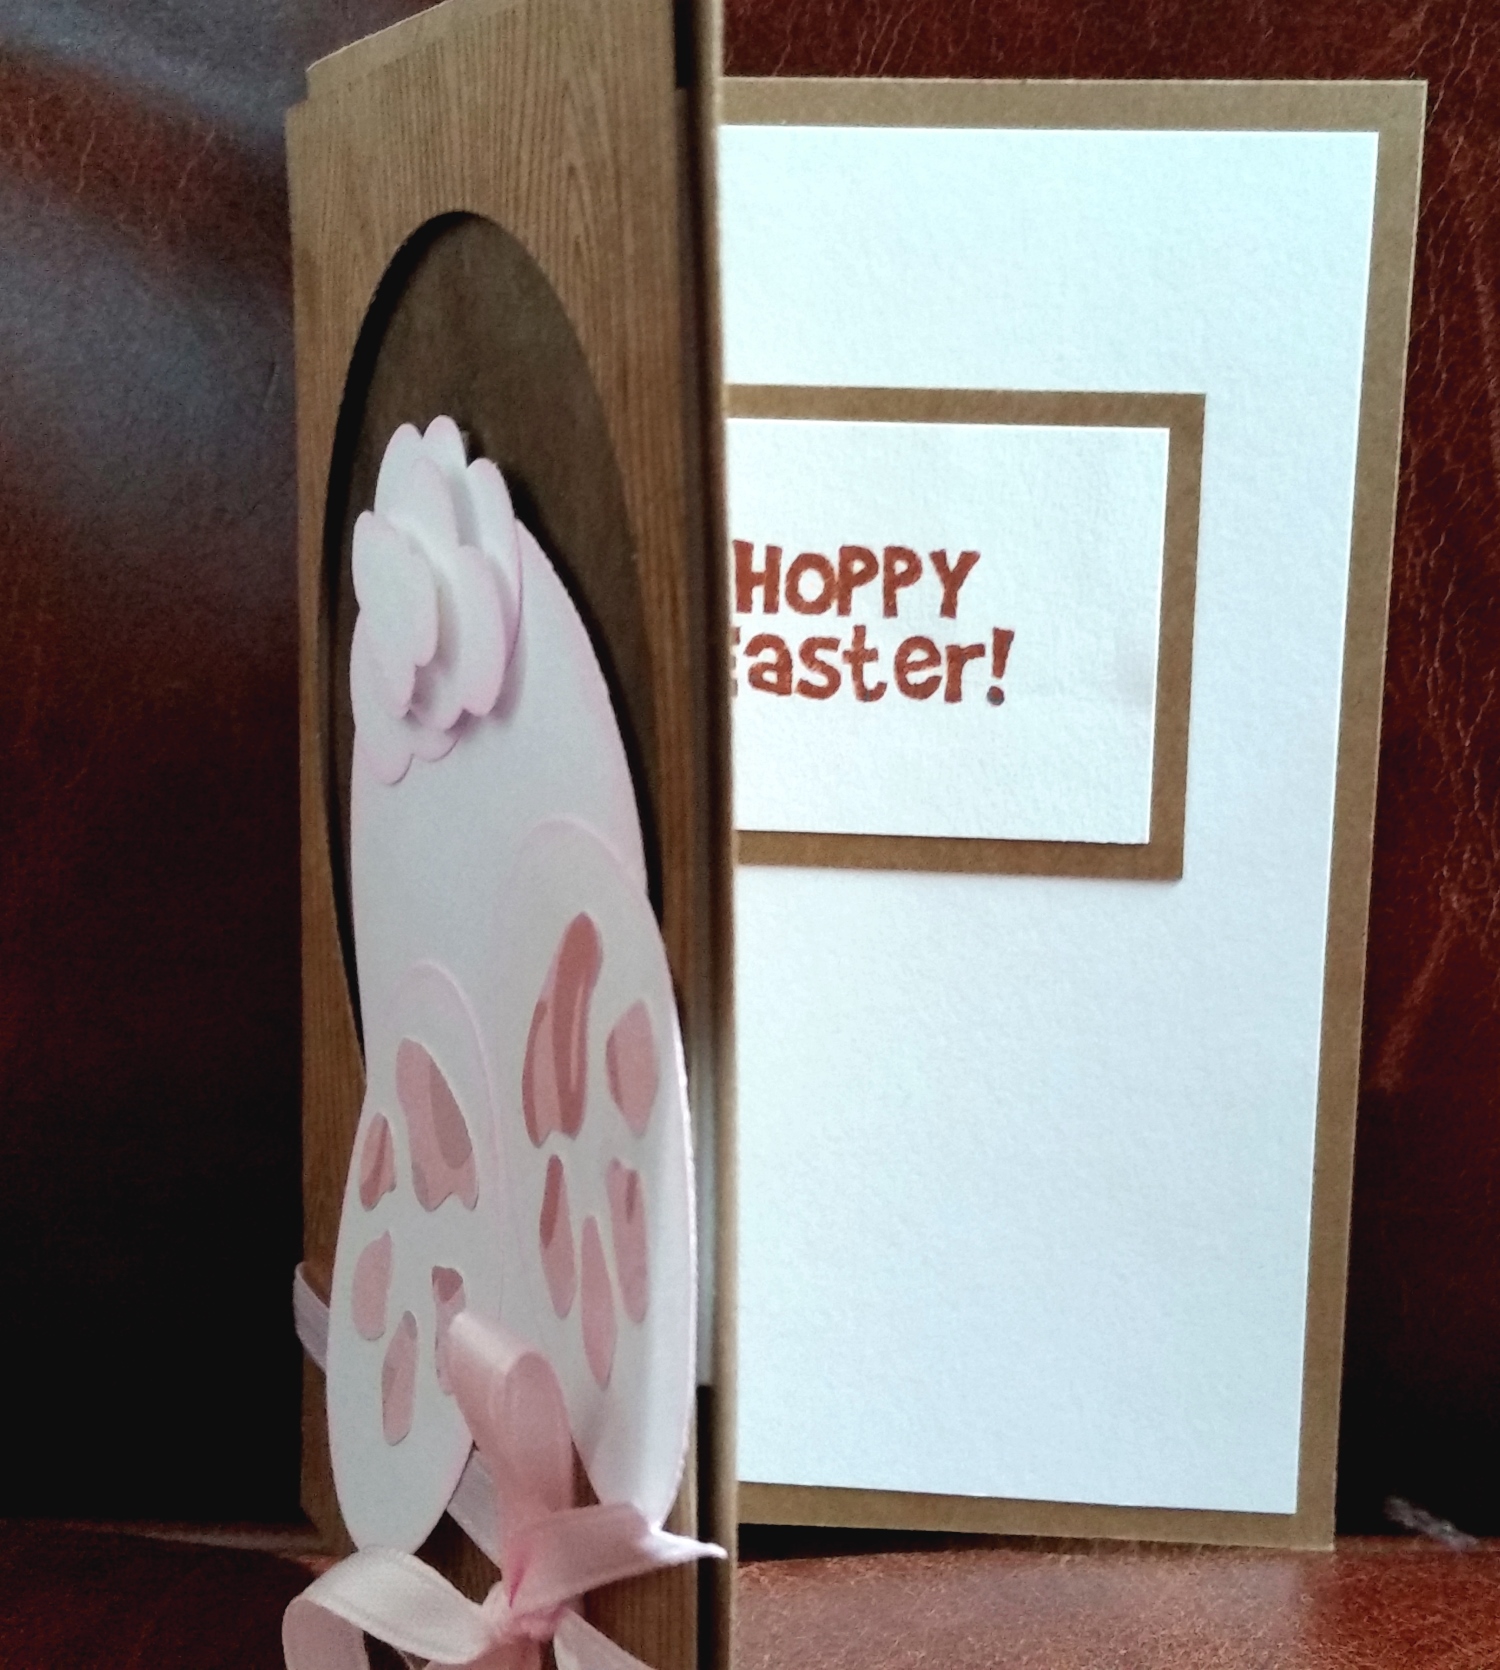 Then I assembed the rear of the bunny. I used the 10th largest circle from the Diemond Dies Die-Normous Stack-Ems Circle Nesting Die Set to cut out the rump and the smallest oval die from the Diemond Dies Oval Nesting Die Set to cut out two feet. Then I used some Fiskars hand punches to cut out paw pads and some clouds to create a bunny tail. I inked the edges of all the pieces with some pink ink. Remember, my readers get 10% off and free shipping on orders of $35 or more at Diemond Dies by using the coupon code: thankskristina
A little more glue and foam adhesive for assembly and voila, we have cute bunny hopping into a hole! To add a little softness, I decided to add a little pink satin ribbon and a bow to the lower part of the card. For the inside sentiment, I used the sentiment from the Stamping Bella Valerie Bunny stamp set that says “Hoppy Easter”.
The following is a process video showing how I put the whole card together:
This card is being entered into the following challenges:
Simon Says Stamp Anything Goes Challenge
The Pink Elephant Photo Inspiration Challenge
Challenge Up Your Life Easter Challenge
Craft-Dee BowZ Anything Goes with a Bow Challenge
CardMania Spring Challenge
Thanks for stopping by! Please subscribe if you wish, and have a great day! WOOF
]]>
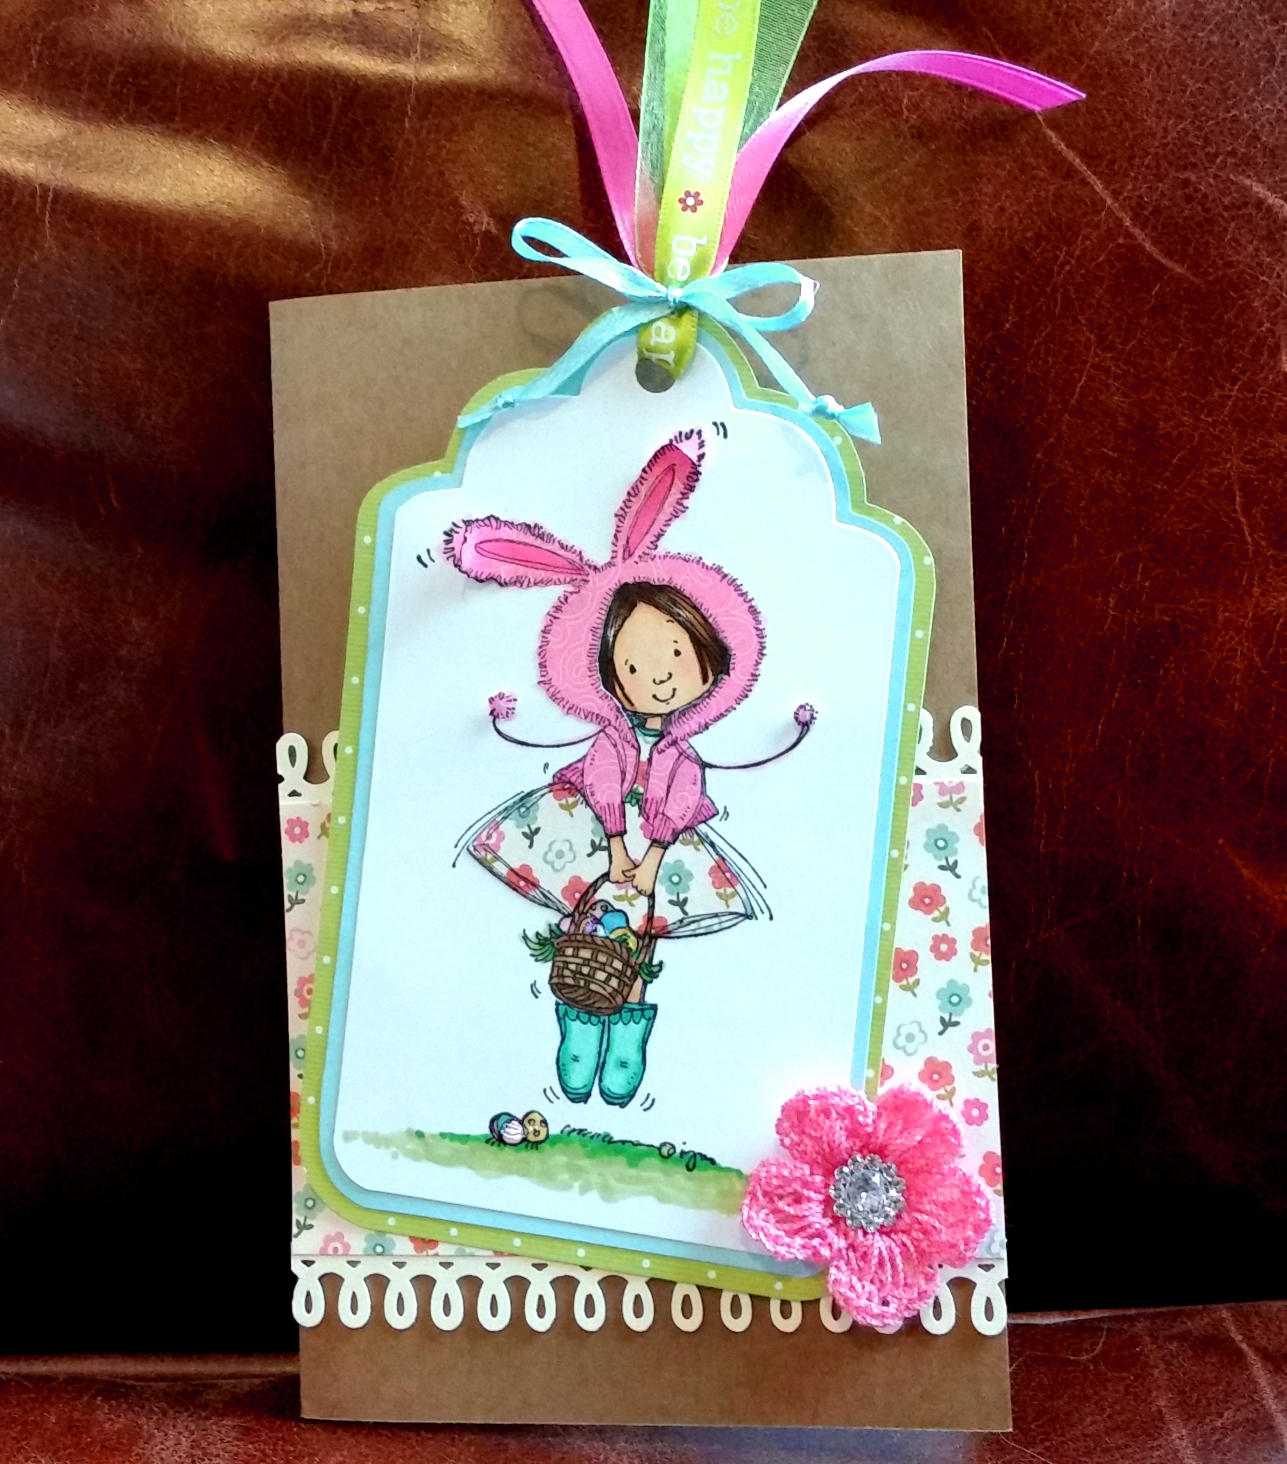 I made this tag card using the Stamping Bella “Valerie Bunny” stamp. She is so adorable, hopping along there in her fuzzy bunny jacket and her springy dress. I stamped it out a few times on different patterned papers so that I could do some fun paper piecing with scraps from my scrap box. I also added some dimension by curling the bunny ears of her hoody and popping up on tiny foam adhesive the pom poms of her strings. I thought that tiny bit of dimension helped give the illusion of Valerie hopping! LOL
I colored up the non-paper pieced parts with the following Copic colors:
Hair: E55, 57 and 59;
Skin: E50, 51, 53 and R30
Boots: BG10 and 24
Grass on ground and in basket: G43 and 09
Easter eggs: RV1, Y17, BG10 and B02
Lastly, I added a little shine to the eggs with Glossy Accents.
The tag part was relatively simple. I used the Diemond Dies Nesting Tag die set and then fussy cut around two more layers with more blue and green paper from my scrap box. I used an old McGill hole punch tat the top and used bits of various pink, green and blue ribbons to make a little tassle secured with a delicate bow (repeating the colors I used on the image an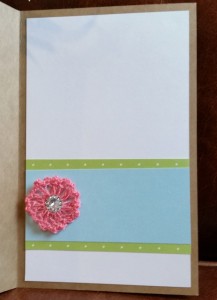 d the scrap papers I had used on the tag frame). Remember if making a purchase at Diemond Dies, use coupon code: thankskristina for an extra 10% off and free shipping on all orders of $35 or more!
I also decided to add a little background layering piece with the same patterned paper I used to paper piece Valerie’s dress and edged it with the border punch from the Martha Stewart Crafts Punch Around the Page, Loops Punch Set.
To add a little more softness, I added a crocheted pink flower from Michaels with a rhinestone center from my stash to the lower right corner. That ended up looking so sweet, that I decided to embellish the inside of the card a bit too and used some more scraps of patterned paper (the same that I had framed the tag with) and another crocheted flower.
The following is a video share of this tag/card:
This tag/card is being entered into the following challenges:
Simon Says Stamp Wednesday Spring Pinterest Inspiration Challenge
Craft-Dee BowZ Anything Goes with a Handmade Bow
Card Mania Spring Challenge
The Pink Elephant Green Challenge
Thanks for stopping by! WOOF
]]>
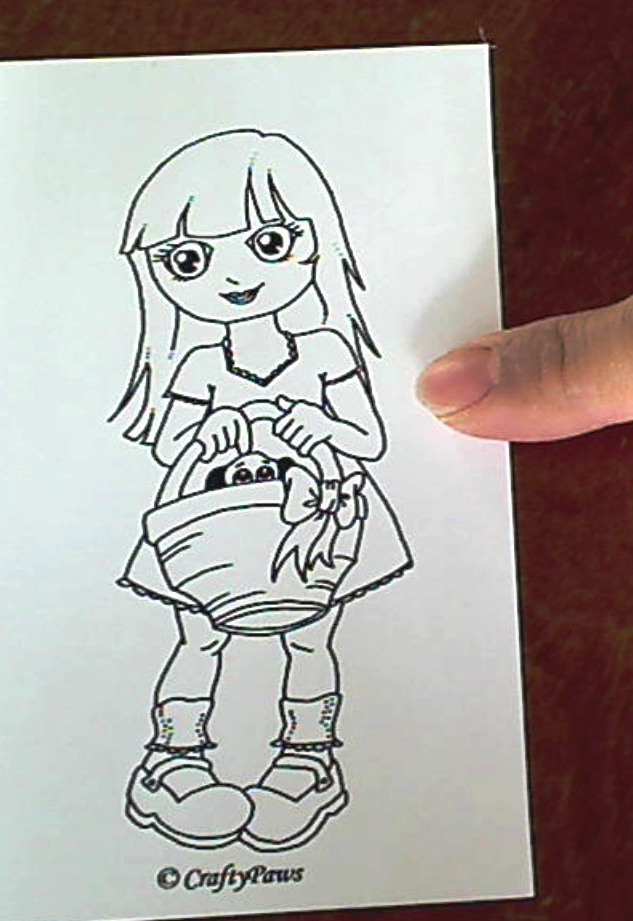 Now that we are into April, I thought folks might enjoy a little girl image that could be used for Easter/springtime cards or layouts. Notice that her right finger is petting the little pup, which seems, to me, to be the most natural thing to do. Wouldn’t we all want to pet a new spring puppy? 🙂
Hope you enjoy coloring and using this digi (available to registered blog members on the Digi Page).
The photo at the top is also my entry to the Sugar and Spice Crafty Pastel Challenge.
Thanks for stopping by! Please subscribe if you wish, and have a great day! WOOF
]]>