I wanted to do a portrait of Hailey for my dear friend, but these portraits always take a lot out of me so I have been dragging my feet. It’s days of prep (both mental and physical). Sounds extreme? Yes, I know, ridiculous. Actually I think the hardest thing for me is that realistic portrait drawings require more emotion. After all, we all have high powered digital cameras that can take exact likenesses in an instant. A portrait needs more. I am always worried that the recipient of one of my portraits will be disappointed or not think that the portrait looks like their animal. Anyway, I finally got over my reticence and just drew and drew and colored.
Yes, I also did a colored version using my Derwent Inktense Watercolor Pencils, 12 Count and a Pentel Aquash Waterbrush
. These watercolor pencils are a bit pricey, but even just the 12 pencil set I have is wonderful. The colors are rich, the pencils smooth, and the blending so soft. I also used a little paw print stamp with the Tsukineko Brilliance Pigment Inkpad in Matte Moonlight White
to add a pattern to the “wall paper” background.
The following is a video share of this portrait, with some still photos of the portrait in progress:
Thanks for stopping by. Please subscribe if you wish, and have a great day! WOOF
]]>
 I used a little paper doily, some pink satin ribbon and a little crinkled pink seam binding to add some softness to the front. At the bottom, to add a little more interest, I punched out a little border using my Martha Stewart iron gate border punch. This is one of my favorites because of all the detail to it, but I think it is retired.
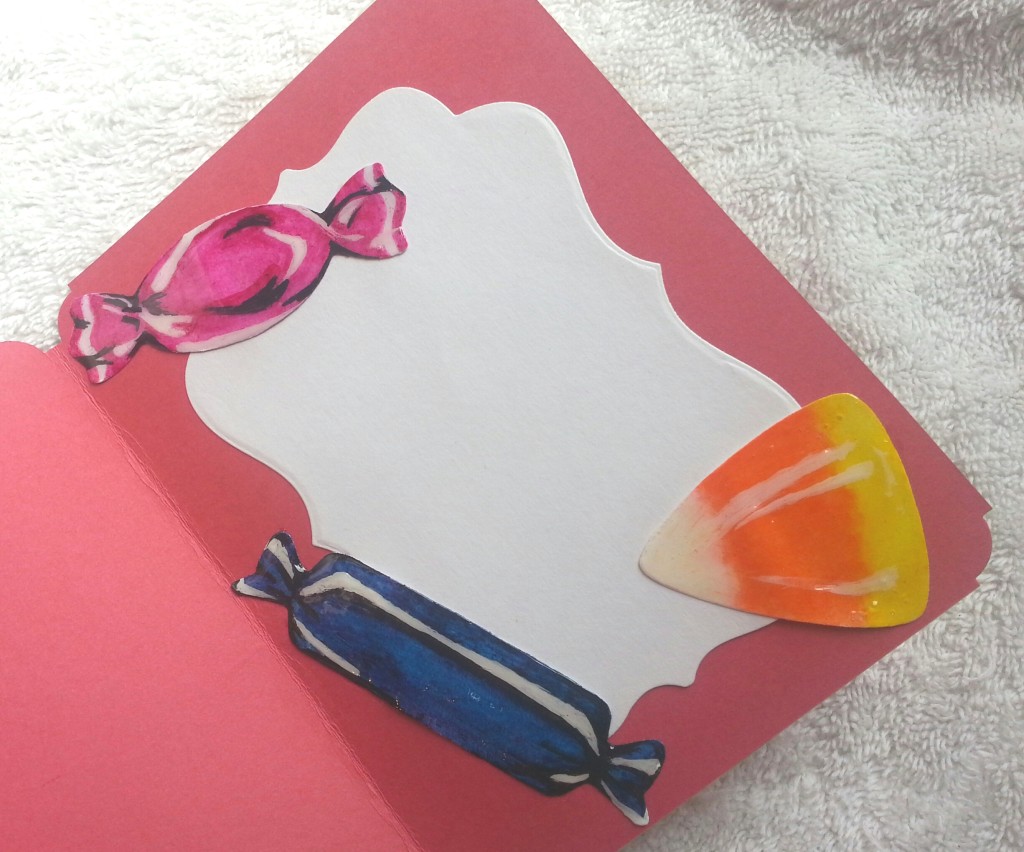
On the inside I used the largest of the Diemond Dies Labels 1 Nesting die set (I find that I use this die all the time to make cards since it is the perfect size for standard A2 card message areas) to set up a place where I could write my note and then had some fun making some candy embellishments using the Diemond Dies candy die set. Remember, use Diemond Dies coupon code: thankskristina for 10% off your entire purchase and free worldwide shipping on orders of $35 or more!
The coloring of these candies was really fun to figure out. I used my Derwent Inktense watercolor pencils to color in the bases (but you could probably just cut colored card stock). Then I took my white gesso with a thin paint brush to add in highlights. The final touch came from using my M size Faber Castell black PITT pen to put in low lights or shadows. That is the trick; to create a 3-D look with 2-D images or die cuts you have to include highlights and low lights.
The following is a video share of this card:
This card is being entered into the Simon Says Stamps Wednesday Watercolor Challenge and
The Kraftin’ Kimmie Anything Goes Wonderful Wednesday Challenge and
The Paper Nest Dolls Anything Goes with a Bow Challenge and
The Aviary: Paper Wings Halloween Challenge and
Craft-Dee BowZ Anything Goes with a Handmade Bow Challenge
Thanks for stopping by and have a great day! WOOF
]]>
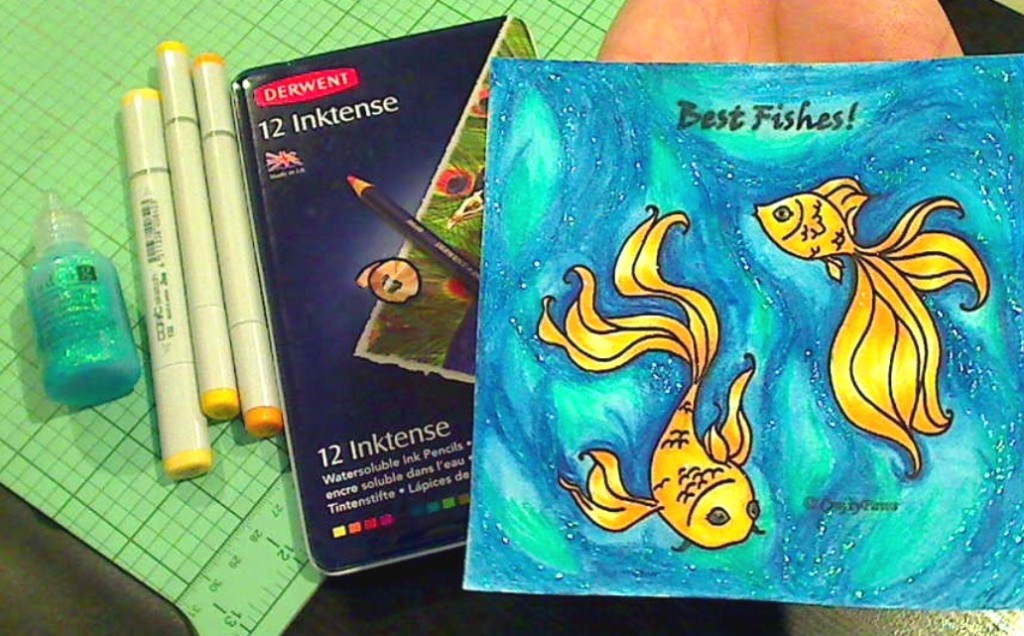 I drew these little fanciful fish last night and colored them up this morning. I used only 3 Copic colors: Y32, 35 and 38 for the fish. Then to make the swirly water I used 2 Derwent Inktense watercolor pencils: Sea Blue and Teal Green and my Pentel water brush.
To add a little sparkle (you know I can’t help myself), I added clear Wink of Stella on the darker parts of the fish and Studio G glitter glue over the water, following the “currents” I had colored in.
This little drawing is being entered into the Simon Says Stamp Anything Goes Wednesday Challenge and the Kraftin’ Kimmie Stamps Anything Goes Wonderful Wednesday September Challenge
Thanks for stopping by and have a great day! WOOF
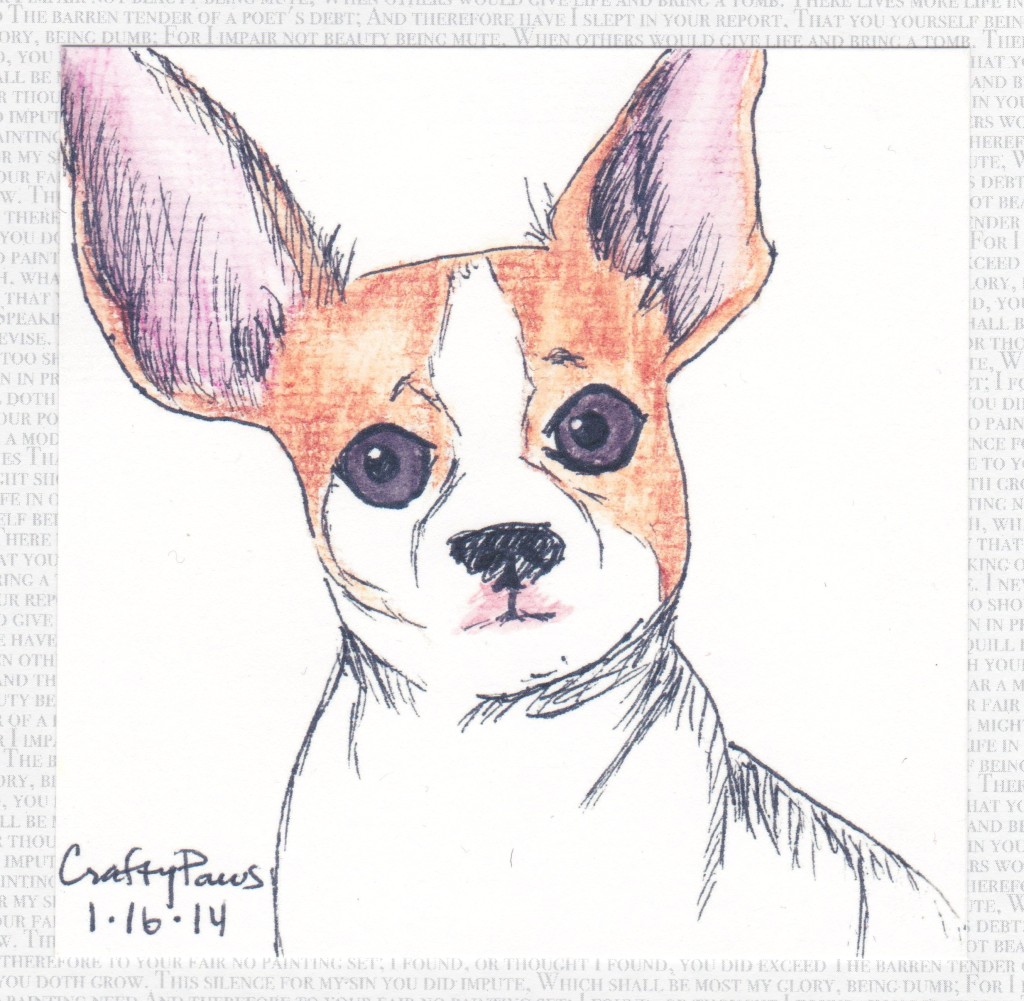
]]>Amador l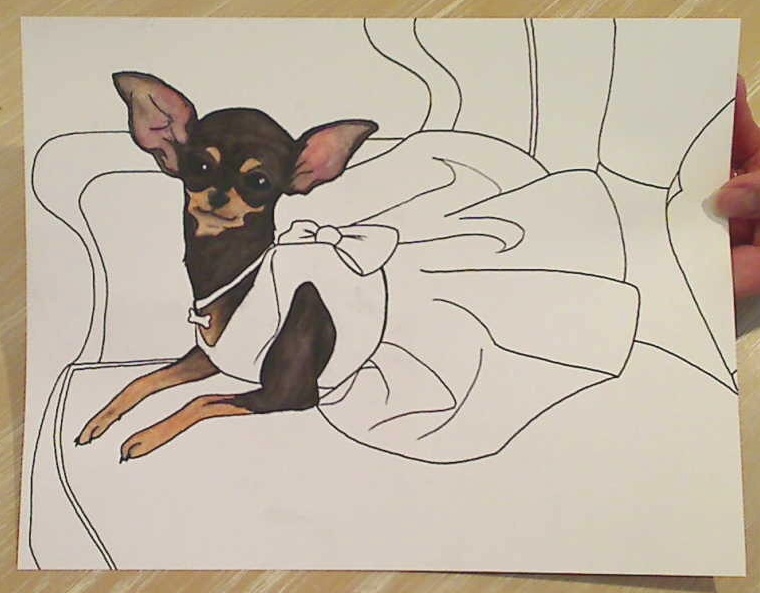 oves his little chihuahua, Fifi. He has named his store after her, has dedicated a Pinterest page to her (which is where I found the picture I worked from), and created so many inspiring layouts and PL pages of her. We obviously share our passion for the love of our dogs.
I first started with a pencil sketch. Then I created an ink drawing. I then digitized it, cleaned it up using paint.net, and then printed out two copies (one on card stock and another on copier paper to use as a mask for stamping later). The final color portrait was done using Derwent Inktense water color pencils. The background bones for the settee were stamped using white Brilliance ink and the little heart paw prints for the wallpaper was embossed with clear embossing powder. The final touch? It was adding crystal sticker bling, of course! Fifi had to have a sparkly necklace. I added shimmer to the bone charm with my clear star Gelly Roll pen too.
The hardest part of the whole portrait was getting the courage to start. Then I suppose it was trying to color the taffeta dress. I hope Amador likes the portrait of Fifi. It was certainly made with love. 🙂
The following is a video sharing the project:
This portrait is also being entered into the Simon Says Stamp Wednesday Challenge
and the Simon Says Stamp Work it Wednesday Challenge
Thanks for stopping by! Please subscribe if you wish and have a great day! WOOF
]]>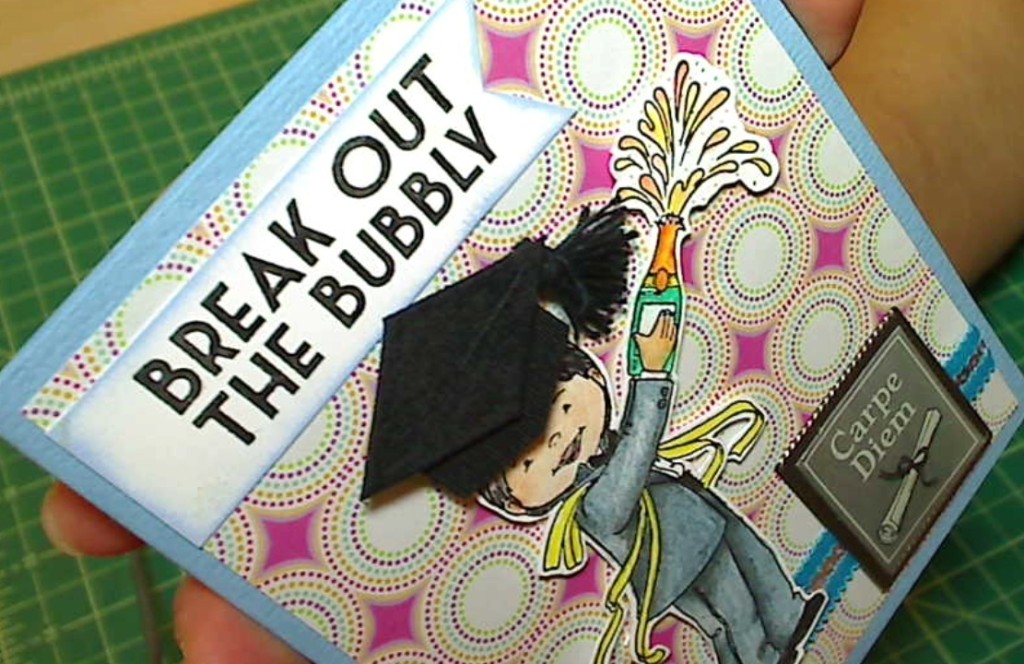 I used an SP& Company stamp that was a gift from Sami (YT: thescrapmaster) when I purchased 4 other stamps from her store closing sale. When I first saw this stamp, I thought of new years eve and did not really think I would have much use for it. However, once I really took a look at it, I saw that it could easily be transformed and used for any celebratory event!
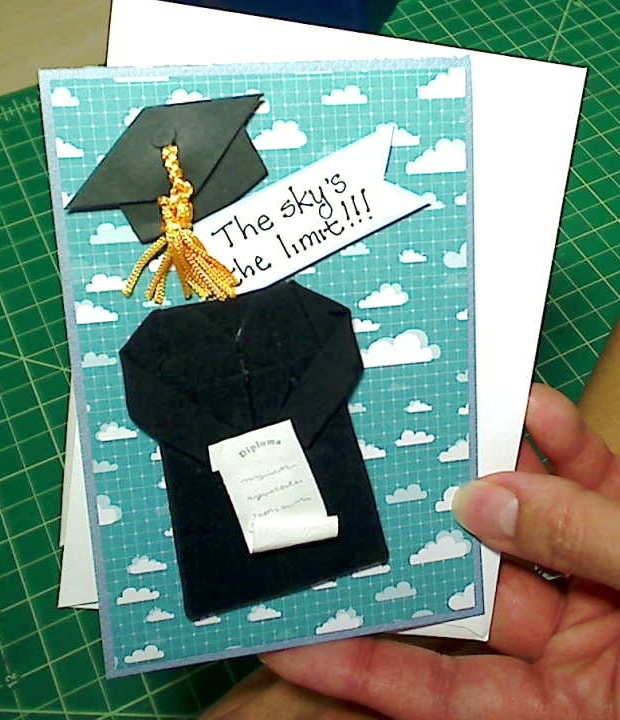 I just swapped out the party hat for a graduation cap from a Jolee’s sticker package, colored up the cute little guy with my Derwent Inktense water color pencils and my Pentel waterbrush, and added a little metal and epoxy embellishment with the sentiment, “Carpe Diem” (seize the day). It was a relatively simple card, but I think it came out super cute (and so did my mom!).
This second card was one that I whipped up in a flash. I used a bit of left over card stock, some fun cloud paper, and some remaining stickers from that graduation Jolee’s sticker pack. The sentiment I just wrote out with a Uniball pen and cut into a banner shape, dabbing some blue ink around the edges to coordinate with the card stock. It could not have been easier! Sometimes we crafters are our own worst enemies, making things harder than they need to be. 🙂
Thanks for stopping by! Big hugs, Kristina WOOF!
The following is a video share of the first card:
This first card is also being entered into the Raisinboat Blog Challenge
the Simon Says Stamp Masculine Challenge
and the Naughty or Nice Challenge
I started by using paint.net (a free PC software program that can be used like photoshop to make and alter digital images) to take a cartoon poodle and mirror it and adjust the colors. How could I not put in a reference to my sweet Biscuit? Then I used some dark brown patterned paw print paper to create a dark background. I knew the Prima flowers I had recently received from my friend Bev (YT: NewCrafterBev) would make the perfect 3 dimensional flower “grid”. I watered down some pink and aqua paints I mixed up with water and had fun creating some drips (making sure to use my heat gun to dry each layer — I wanted to make sure I didn’t get a muddy look for this project). Then I started laid in my gold embossed small paw print background structure, which I thought echoed the larger erratic paw print paper as well as the grid of the flowers nicely (bringing it all together).
Finally, all that was left was the self portrait. I did a quick sketch, using my cheap but reliable Uniball ink pen, standing in front of my bathroom mirror. I scanned the drawing into my computer, cleaned up the stray lines using paint.net, and printed it out on matte photo paper so that I could color it up. I love my little set of Derwent Inktense water color pencils. These are pricey, but I have done well, with a small 12 color set for years.
I really had fun taking my time, taking cues from a mood board as a sketch, and working on each layer and mini project on this layout. I like the results too, but the best part for me was this process.
Thanks for stopping by. Please subscribe if you wish, and have a great day! WOOF
]]>
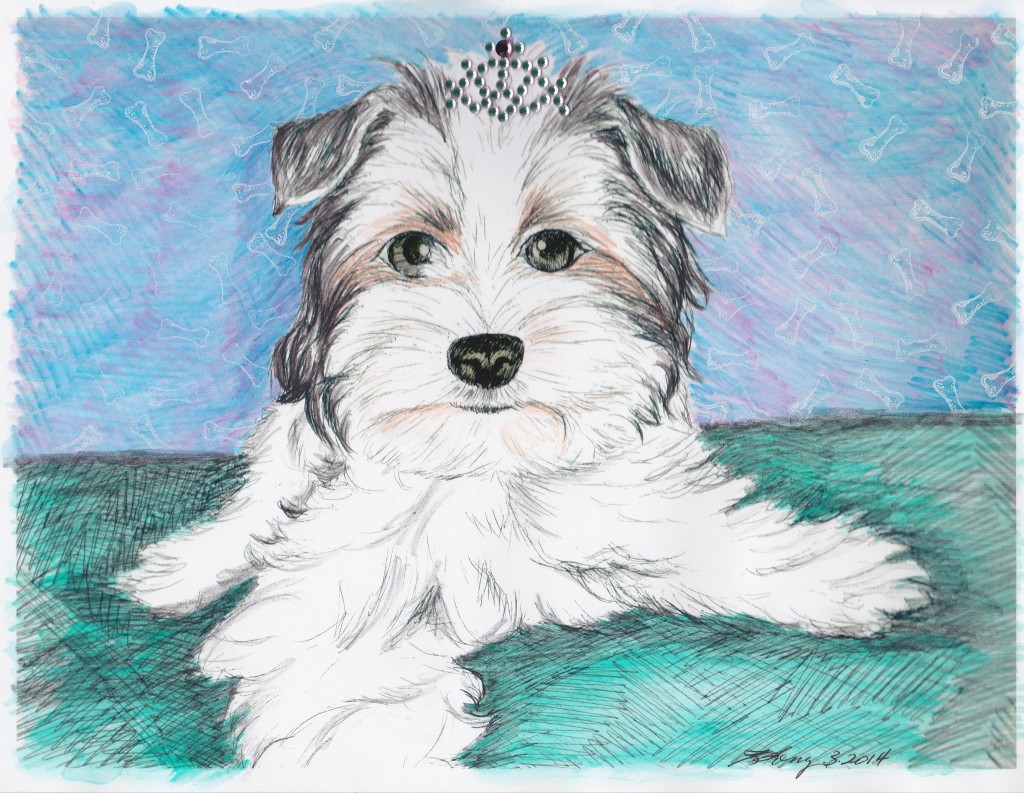 Robin had asked me to do a drawing of her fur baby, and while I normally don’t take drawing commissions, I wanted to express my appreciation for all the charitable work she does so I immediately said, “yes.” Robin is one of those really special people who always does things to help other people, make this world the type of place we all want to live in, and is so genuine that you can’t help but become a fan.
Anyway, I did the first drawing using my old stand by Uniball ink pen. Then after I was done, I thought I don’t feel the warm cuddly feeling that I’m sure Zoe exudes in real life. So I scanned in the picture into my computer and colored up the copy using my Derwent Inktense water color pencils. I also added some pink bling to highlight her little tiara, and used Glossy Accents to her eyes and nose. I really like how it came out, and I hope Robin does too.
The following is a video sharing this drawing and colored print.
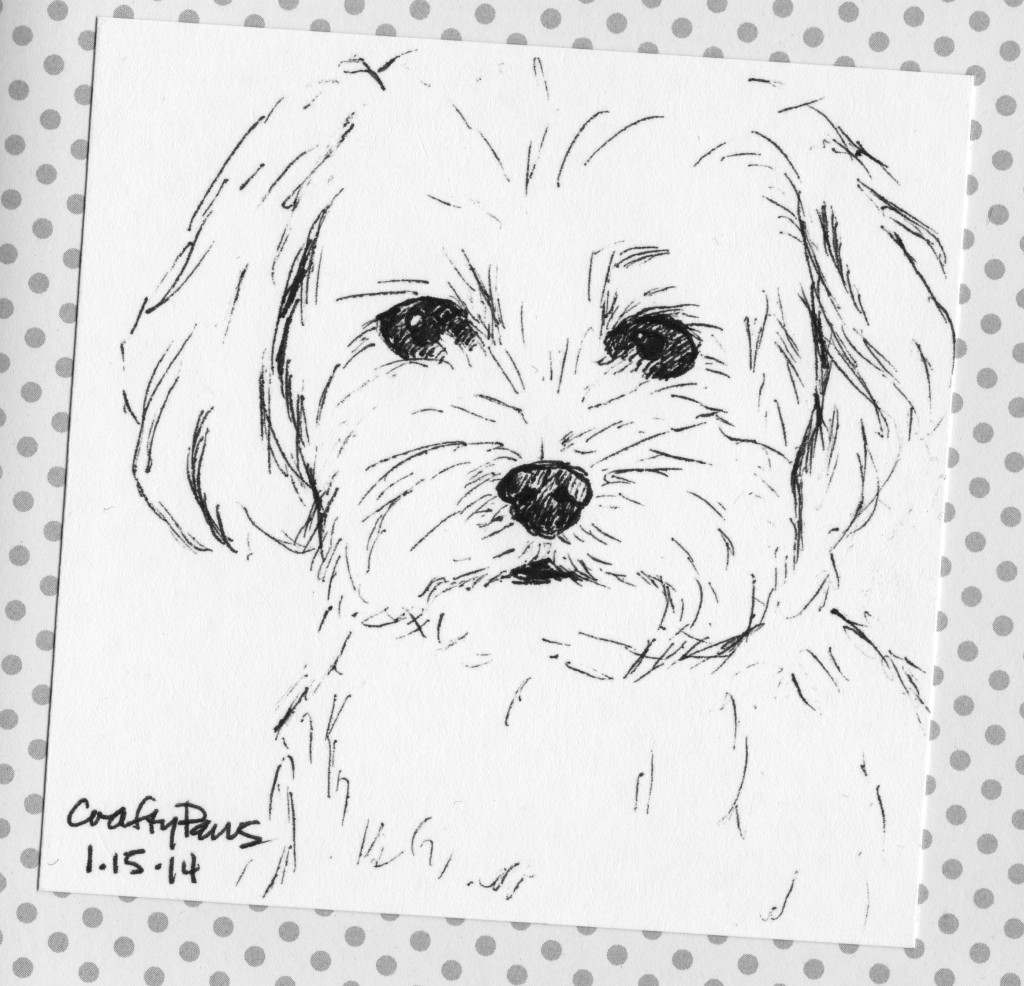 I thought I would also share a couple of small drawings I did for my friend, Elaine (YT: todaylibrary) of her dogs Mandy and Gunner. I know she absolutely loves her dogs so I wanted to create something that I hoped would be meaningful for her, and hopefully find their way into a keepsake piece she made of them (which they did — she shares it in a video on her Youtube channel).